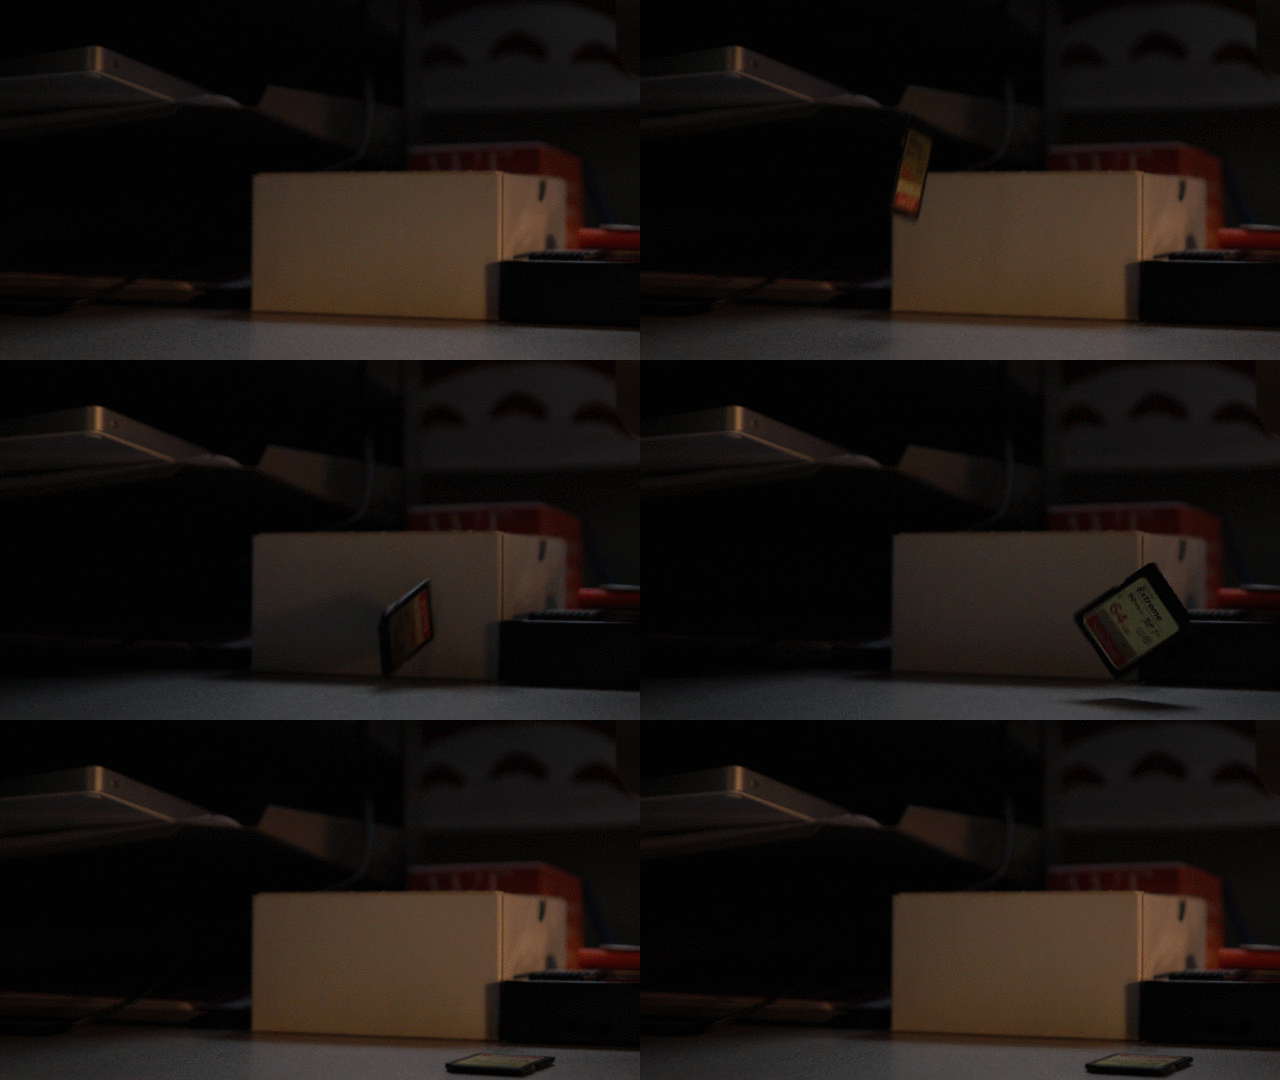
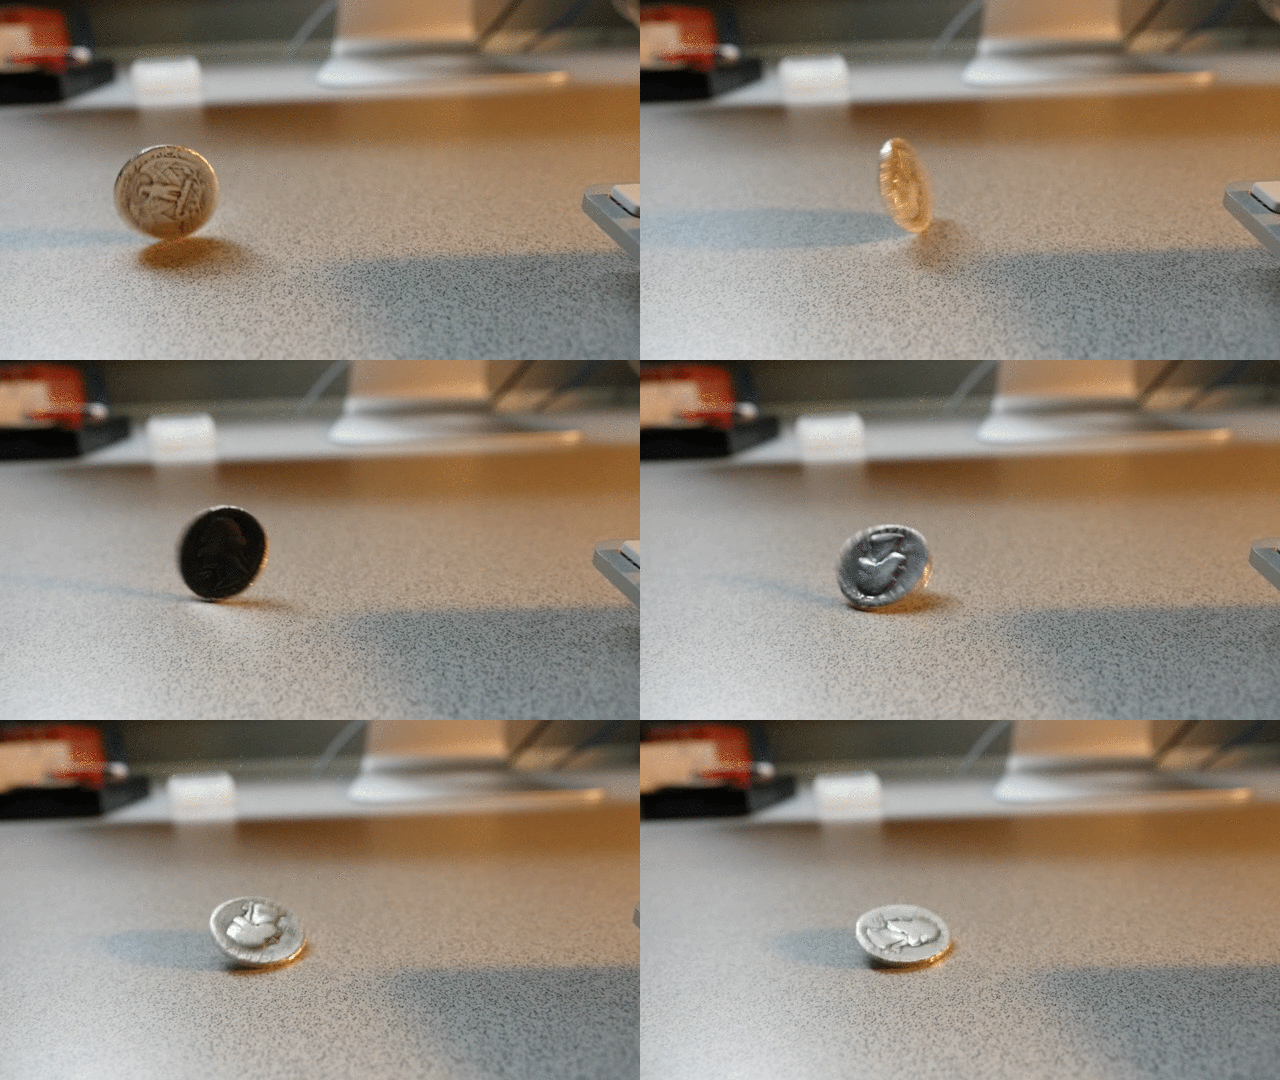
Take It Sloooooooooow
Slow motion is fun. It can give drama more weight and make comedy more ridiculous. While it’s often overused in Hollywood blockbusters, there are times when a slow motion shot just works. I don’t see many student projects that utilize the technique and I think that part of the reason is that it requires a lot of planning. You need to know exactly what your want your end result to be and it often requires additional equipment and setup time.
Fortunately, we have some really fantastic tools for capturing slow motion in our equipment collection. In particular, the Sony RX10 II and the Panasonic GH4 have excellent slow motion modes. However, before we discuss the particulars of using the individual cameras, we need to discuss how slow motion works in general.
Slow motion is sometimes referred to as “over cranking,” a reference to the manual, hand-cranked film cameras of early cinema. Put simply, shooting slow motion involves using a higher shooting frame rate than the display frame rate. If you film at 48 frames per second and display the footage at 24 frames per second, we will have half-speed slow motion. On the first movie cameras, this was literally done by cranking the handle on the camera more quickly than usual – hence, over cranking. The higher the frame rate filmed at, the slower the resulting slow motion footage.
There are some considerations that need to be taken into account when filming in slow motion, however. First of all, the “180 rule” for shutter speed still applies: for a natural looking amount of motion blur, the shutter speed should be roughly twice the frame rate. That means that shooting at a high frame rate involves using very short shutter speeds; if you are shooting, say, 100 frames per second, your shutter speed should ideally be around 1/200 of a second.
Since fast shutter speeds let less light into the camera, we need to compensate in some way. You can usually make up some of the difference using the exposure triangle – either raising the ISO or opening the aperture will help. Lens apertures can only open so far, though (plus it affects depth of field) and high ISOs have worse image quality. That means that, most of the time, you simply need to add more light to a scene that you are filming for slow motion.
You can also be a little more flexible about the 180 rule when filming slow motion. If you are shooting at, say, 240 frames per second, you probably don’t need to take your shutter all the way down to 1/480 of a second. Remember, though, that it’s impossible to film at a lower shutter speed than your frame rate, so for 240fps slow motion, you will still need to shoot at a minimum of 1/240 of a second.
Shooting slow motion can also cause some lights to flicker in unexpected ways. Flicker is caused by the shutter speed of the camera interacting with the frequency of the lights in the shot. Unfortunately, you can’t see this flicker until you play the clip back, so you may want to do some tests and adjust your shutter speed as necessary.

Finally, do keep in mind that the clip you create will be considerably longer – two, four, ten, maybe twenty times longer – than however long you actually record for. Your SD cards will fill up much faster, so make sure that you are only filming what you actually need.
HFR on the RX10 II
First up, let’s look at how to capture slow motion on the Sony RX10 II. The mode dial has an HFR (High Frame Rate) setting next to the movie mode, so you’ll want to switch over to that. Then hit the menu button and go to the second page of the camera settings section.

First, make sure that the file format is set to XAVC S HD. Next, move down to the HFR Settings option, which is on the same page. The Record Setting determines the frame rate for your resulting movie file – use 24p 50M, which will create a video clip that plays in slow motion at 24 frames per second. The Frame Rate setting allows you to choose three options: 240, 480, or 960 frames per second. Since our final video will be played back at 24, 240 plays back at one tenth speed, 480 at one twentieth, and 960 at an astounding one fortieth speed.


Unfortunately, these extreme frame rates come at the cost of image quality. Recording at 240 looks quite good, 480 is a bit soft and muddy, and 960 looks pretty bad. I would personally stick to 240 which is still very dramatic slow motion.

Set the Priority Setting to Quality Priority, which will ensure the best possible image. REC Timing is an interesting setting; when it is set to Start Trigger, the slow motion recording will begin when you press the video record button. When it is set to End Trigger, the camera will continuously “buffer” a few seconds of slow motion video – hitting the video record button will save whatever is in that buffer. This is great for capturing precise moments, because you can wait something to occur and then press the record button, as opposed to trying to anticipate the action you are trying to capture.

There are some limitations to recording in HFR mode on the RX10 II. First of all, the camera can only capture around two seconds of slow motion footage at a time. That might not sound like much, but remember that when played back, these clips will get ten, twenty, or forty times longer; two seconds of 240fps footage will result in a twenty second clip. Also, no sound is recorded in HFR mode, but audio that slow would be fairly useless anyway.
When the camera is switched over to HFR mode, it will operate as usual: you can dial in the zoom, focus, and exposure settings as you normally would. However, pressing the large center button in the control dial on the rear of the camera will place it into “Shooting Standby.” When the camera is set to standby, all the settings are locked. You cannot change exposure, adjust the zoom, or even focus the camera. When the camera is in standby mode, you press the movie record button to capture either the previous two seconds or the next two seconds, depending on how you set the REC Timing option in the menu.

After you finish recording, the camera will take a few seconds to process the clip. It’s a good idea to hit the playback button to check out what you’ve captured. Be sure to check for things like lights flickering.

The RX10 II has one other great option for slow motion recording, which is to record in 120 frames per second in the normal video mode. To do this, set the camera to movie recording on the mode dial. In the menu, make sure that the format is set to XAVC S HD on the second page of the camera settings section. Then go to Record Setting and choose 120p 100M. This will capture footage that does not play back in slow motion; however, you can take it into an editing program and slow it down in post-production.
The benefit of recording this way is that you don’t have to use the “standby” mode which locks all of the camera settings. You can record normally, with sound, and make changes to your zoom, focus, and exposure settings. This would be a good approach if you wanted a scene to start at normal speed and then transition into slow motion. It will require more work in the editing process, though. You could do the same thing using the 60p Record Setting for a less dramatic effect.
VFR on the GH4
The Panasonic GH4 has solid slow motion capabilities as well. Its frame rate options are more limited, but it gives you more flexibility in terms of recording time and settings. To enable VFR (Variable Frame Rate), set the camera to movie mode on the top dial and go into the menus. In the Motion Picture section, make sure that the Rec Format is set to MOV. Under Rec Quality, choose FHD 100M 24P, which will record a full HD image at 24 frames per second. You should see “VFR available” at the bottom of the description box.

At the top of the second page of the Motion Picture section, you’ll find the Variable Frame Rate settings. Click on it and go to SET. From there, you can set the frame rate to anything from 2, for fast motion, up to 96, for quarter speed slow motion. Once you set the desired frame rate, make sure that Variable Frame Rate is turned on in the menu and back out to the camera’s recording mode.


Much like recording slow motion on the RX10 II, the GH4 will not record any audio and the recorded clip will automatically be converted and played back in slow motion. Unlike the RX10 II, there is no recording time limit and you can continue to set the exposure, zoom, and focus – there is no “standby” mode. You simply hit the record button and stop when you are done.
Since VFR on the GH4 tops out at 96 frames per second, the slow motion options aren’t as dramatic as they are on the RX10 II. The recording mode itself is much easier to use, though, and being able to record much longer clips is a big plus. Clips recorded at 96 frames per second are still dramatically slow – they just don’t have the extreme slow motion effect that clips recorded at 240 or 480 frames per second do.

Like on the RX10 II, you could also record in the normal video mode at a higher than usual frame rate and then slow the footage down in post production. However, the highest frame rate available in full HD is only 60 frames per second and 4K tops out at 30.
T-I-M-E-L-A-P-S-E
The opposite of a slow motion shot would have to be a time lapse shot, which speeds action up by using a lower shooting frame rate than the display frame rate. In time lapse footage, you might capture a single frame every second, or every ten seconds, or every few minutes. The further apart the frames are, the more dramatically sped up the resulting footage will be.
Any footage can be converted to time lapse by speeding it up in post-production. However, the GH4 has a great time lapse mode built into the camera, which makes the entire process more streamlined.
To enter the time lapse mode, you need to turn the mode dial on the camera to a stills photography setting – I’d recommend M for manual mode – and the drive dial to the last option, which looks like a clock with two arrows around it.

Head into the menus and go to the Rec section – it has an icon of a stills camera. Since you are going to be capturing stills that will be converted into video, you may want to change the Aspect Ratio on page one to 16:9. This is the same aspect ratio that HD video uses, so it will ensure that your images translate correctly.

On the third page of the Rec section is the Time Lapse/Animation setting. Click on it and set the Mode to Time Lapse Shot. Leave the Start Time set to Now. The last option, where you set the shooting interval and number of images captured is a crucial setting. The interval determines how far apart the images are taken. The lowest option is one second, which means that it would take 24 seconds to create a single second of the finished clip (at 24 frames per second). This goes all the way up to 99 minutes.

The image count essentially determines how long your time lapse will go for. If you take shots two seconds apart and capture 50 images, it will take about 100 seconds to capture your footage and the resulting clip will be a little over two seconds long at 24 frames per second. I know that’s a lot of numbers; fortunately, the camera makes it a little easier by putting the estimated end time at the bottom of the screen.


With the time lapse settings dialed in, you can leave the menus and set your exposure. Since you will be capturing still images so far apart, you don’t need to pay much attention to things like the 180 rule for shutter speed. Just get your exposure set, hit the shutter button, and walk away. The camera will record for the predetermined number of shots and then stop. You definitely want to use a tripod when recording time lapses, since any camera movement will appear to be a huge jump in the footage.

After the shots have been captured, the camera will give you the option to create a video file from the stills in-camera, which is a nice feature. You can set the resolution and frame rate and the camera will take a few seconds processing the footage.


