A Tale of Two Camcorders
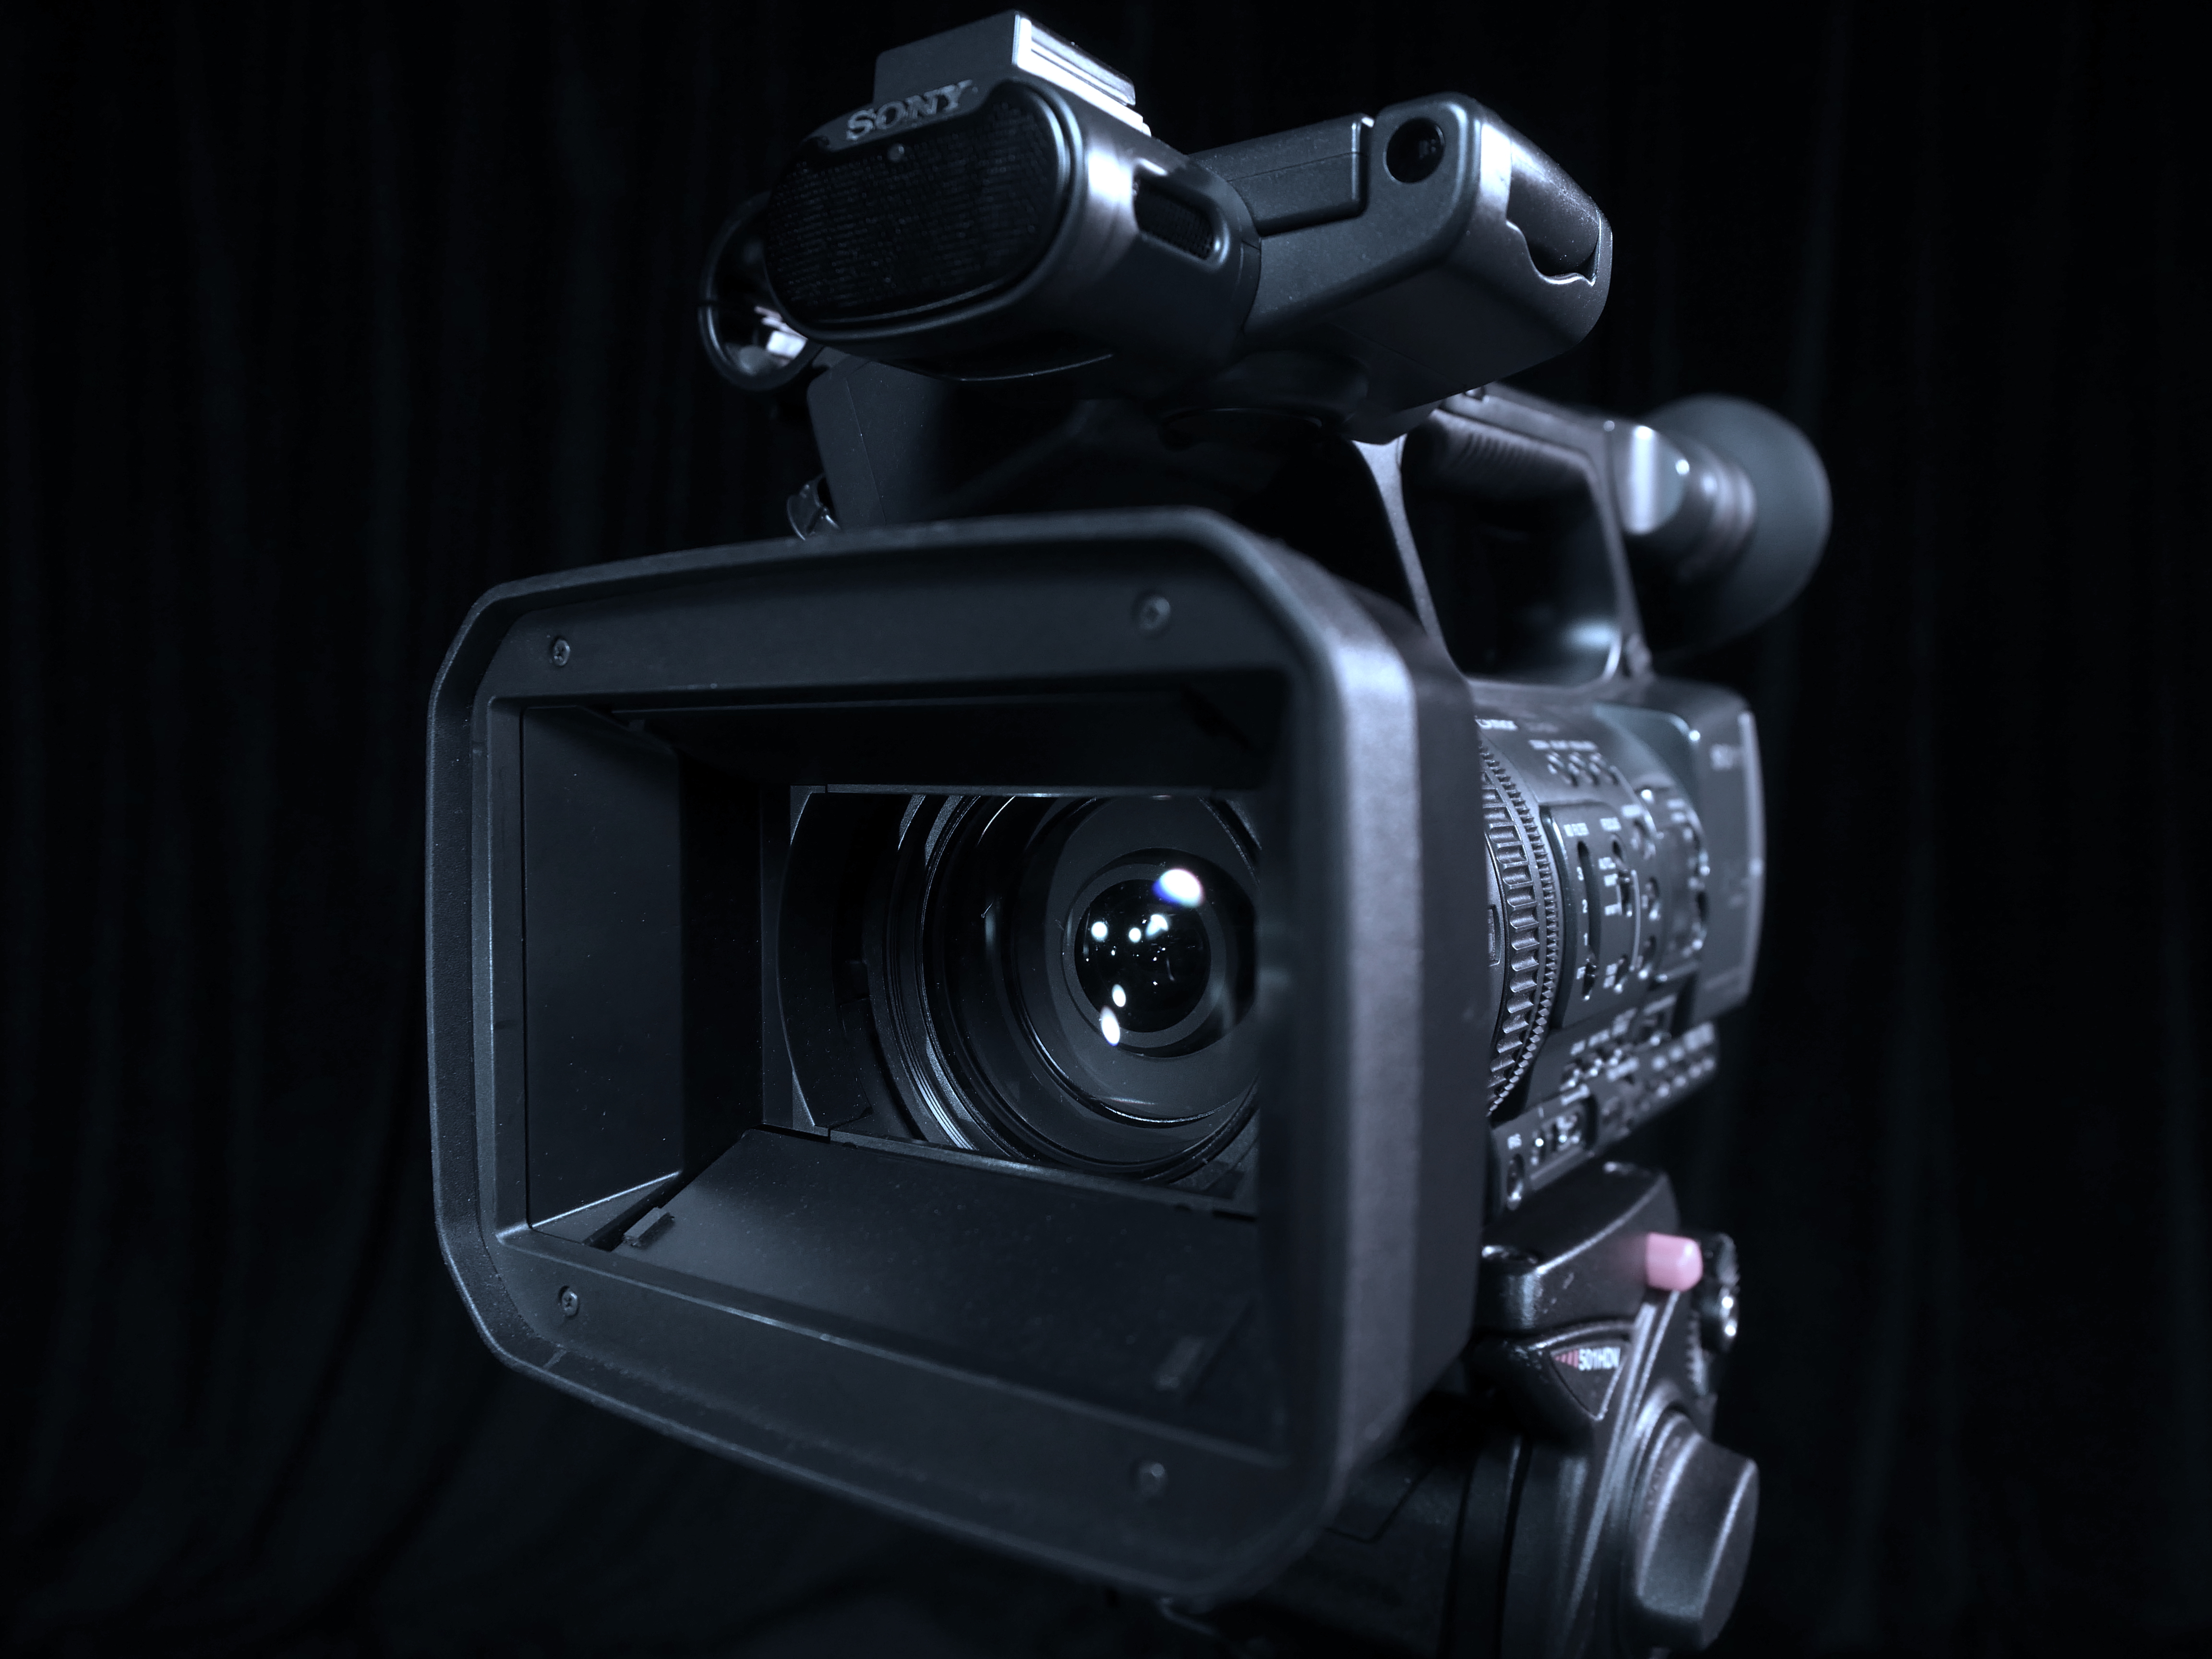
This week, we’re looking at two dedicated video cameras: the Panasonic AF100 and the Sony AX2000. As a quick disclaimer, the actual letters and numbers in a camera’s name don’t usually mean much – different manufacturers use different systems to label their products and trying to unravel the logic behind the conventions is basically useless. These two camcorders have some interesting similarities and differences, but they both offer the kinds of benefits you only get when filming on a dedicated video camera.
The Panasonic AF100 is an interchangeable lens camera that uses the Micro Four Thirds lens mount – the same mount and sensor size that you find in the Panasonic GH3 and GH4. The Sony AX2000 has a fixed (permanently attached) lens with a large zoom range and a smaller sensor. This means that the AX2000 is a more convenient all-in-one package, but the AF100 can capture higher quality images with its larger sensor and the option of premium lenses.
There is one interesting, often irritating, similarity that these two cameras share: they’re old. Both cameras were first released in 2010 and eight years is a lot in the rapidly-evolving world of digital video. This is most obvious in areas like the design of the menu systems, which are clunky and unintuitive. Despite their age, however, these cameras still capture high quality video and they still offer good handling, excellent battery life, unlimited recording time on two card slots, and advanced audio features.
Panasonic AF100
The AF100 was released just over two years after the release of the very first mirrorless Micro Four Thirds camera, the Panasonic GH1. The Micro Four Thirds system has proven popular for hybrid cameras because of its versatility and small size – but Micro Four Thirds camcorders are fairly unusual. The AF100 was an attempt by Panasonic to create a “best of both worlds” camera, with the large sensor and lens options of a stills camera and the body design of a video camera.
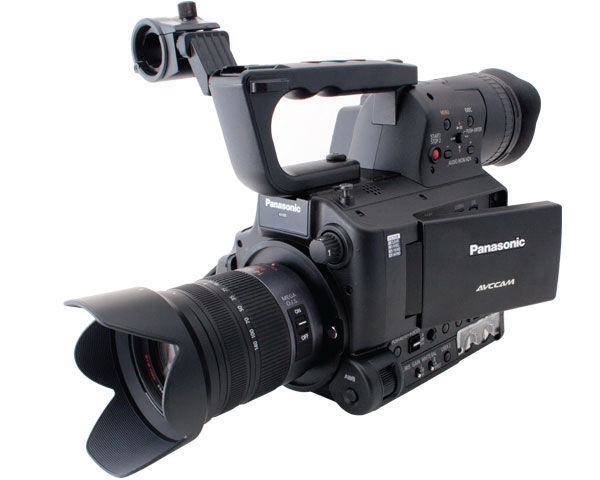
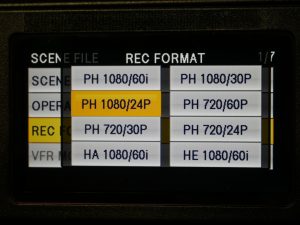
To turn the camera on, you need to find the small power switch on the side of the camera, just above the audio level dials. If you press the MENU button on the top of the camera (near the viewfinder), you’ll find three pages of confusingly-labeled settings. In the first section, SCENE FILE, you’ll find the important REC FORMAT option, which allows you to change the frame rate and resolution of the camera – for standard recording, use 1080/24.
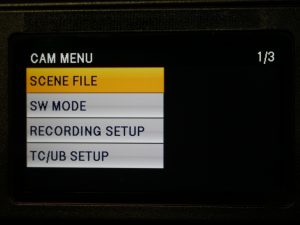
In the next section, SW MODE, you’ll find some customization options, such as the ISO assignments for the gain control. The gain is set using a physical switch near the bottom of the camera – there are low, mid, and high options, which can be assigned to different ISO values. The AF100 is not a terrific low-light camera and I’d recommend setting low, mid, and high to 200, 800, and 1600, respectively. The rest of the SW MODE section contains settings for customizing the other buttons and dials on the camera body.
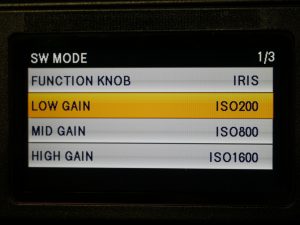
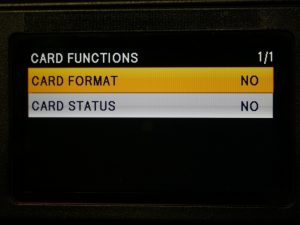
If you’re so inclined, you can navigate over to the DISPLAY SETUP section to customize the onscreen display – things like safety markers and meters can be switched on and off. You shouldn’t need to spend much time in the rest of the menu sections, with the exception of CARD FUNCTIONS, which allows you to format the SD cards.
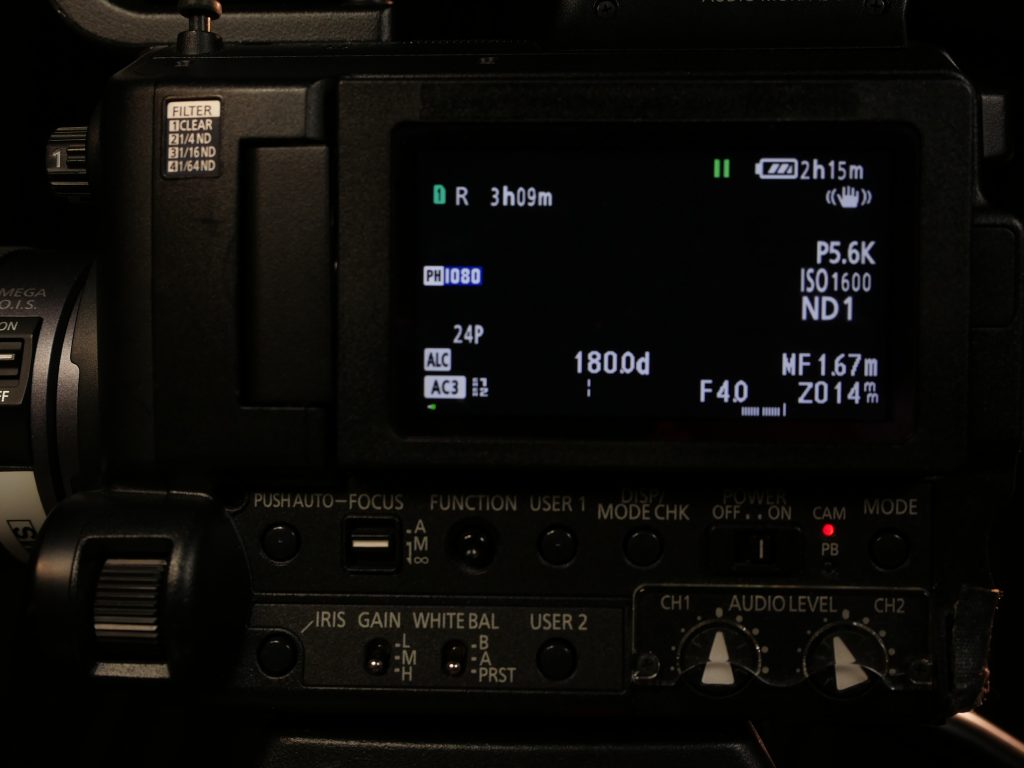
The camera body itself is where you’ll be setting most of the exposure controls. The aperture is set using the dial near the front of the camera – press the IRIS button to toggle between manual and automatic modes. Next to the IRIS button are switches marked GAIN (the ISO setting) and WHITE BAL. White balance settings on this type of camera are a little different than they are on a hybrid camera: instead of dialing in a specific value, you can choose between two presets; or point the camera at a white surface and hit the AWB (automatic white balance) button at the front of the body. On the back of the camera, near the battery compartment, is a dial for changing the shutter speed.
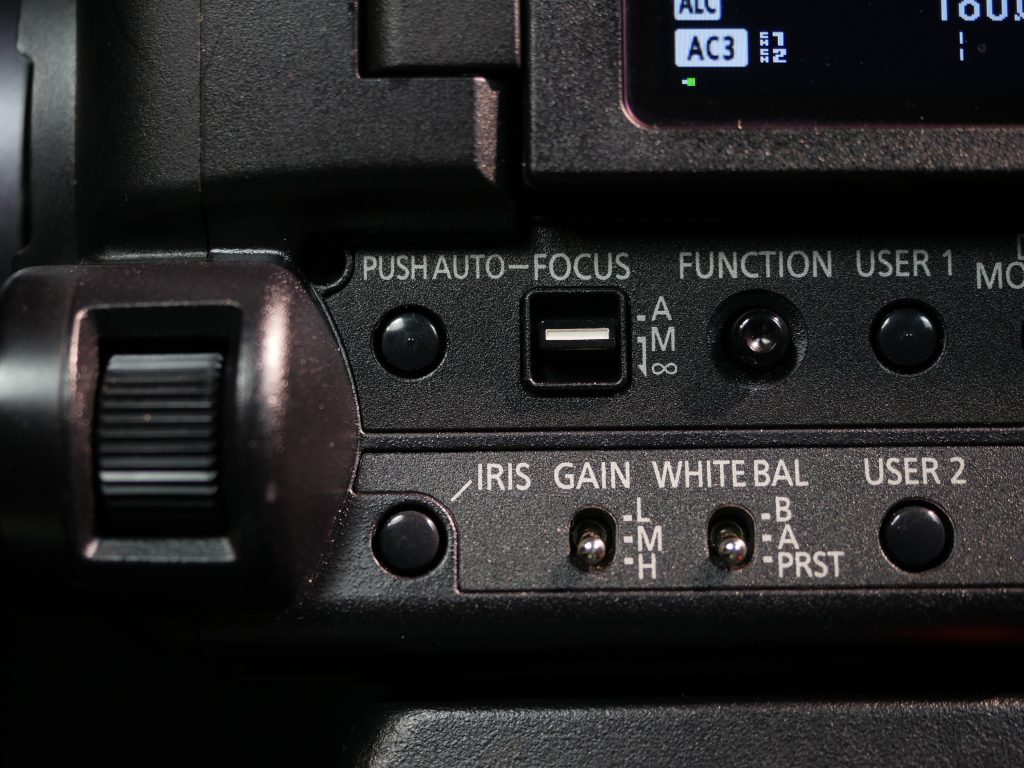
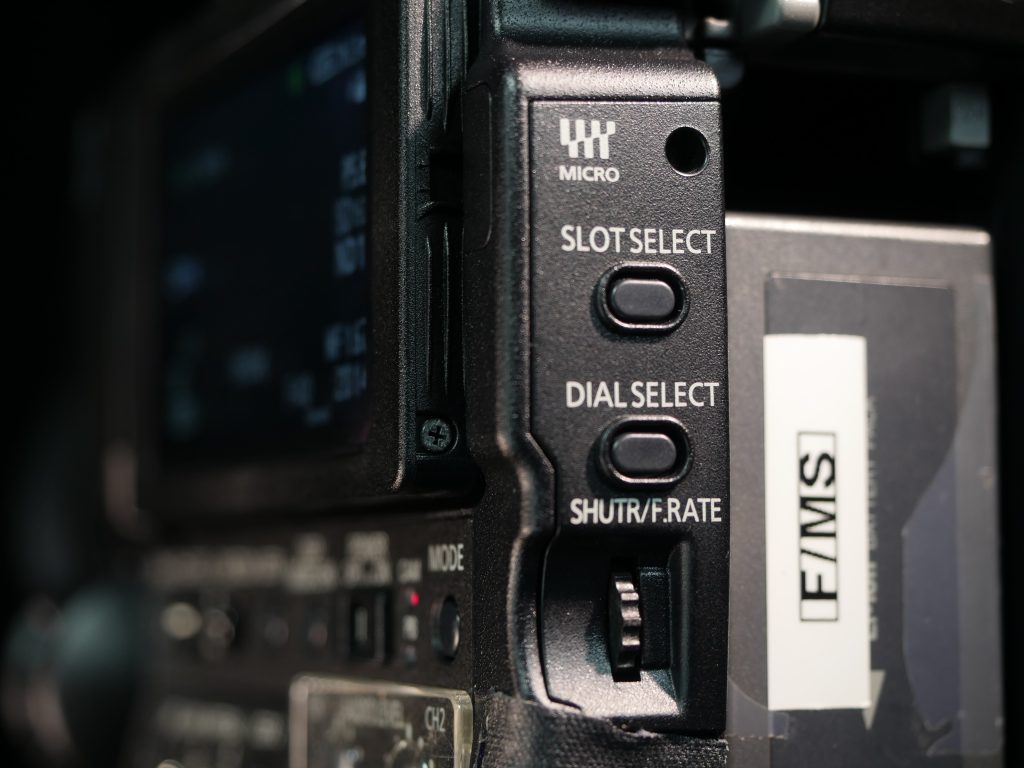
Continuing along the side of the camera body, USER 1 and USER 2 are customizable buttons – USER 1 has been programmed to show focus peaking, which is very useful. In the bottom corner are audio level dials for channels one and two. The rest of the audio controls are located behind the flip-out screen above.
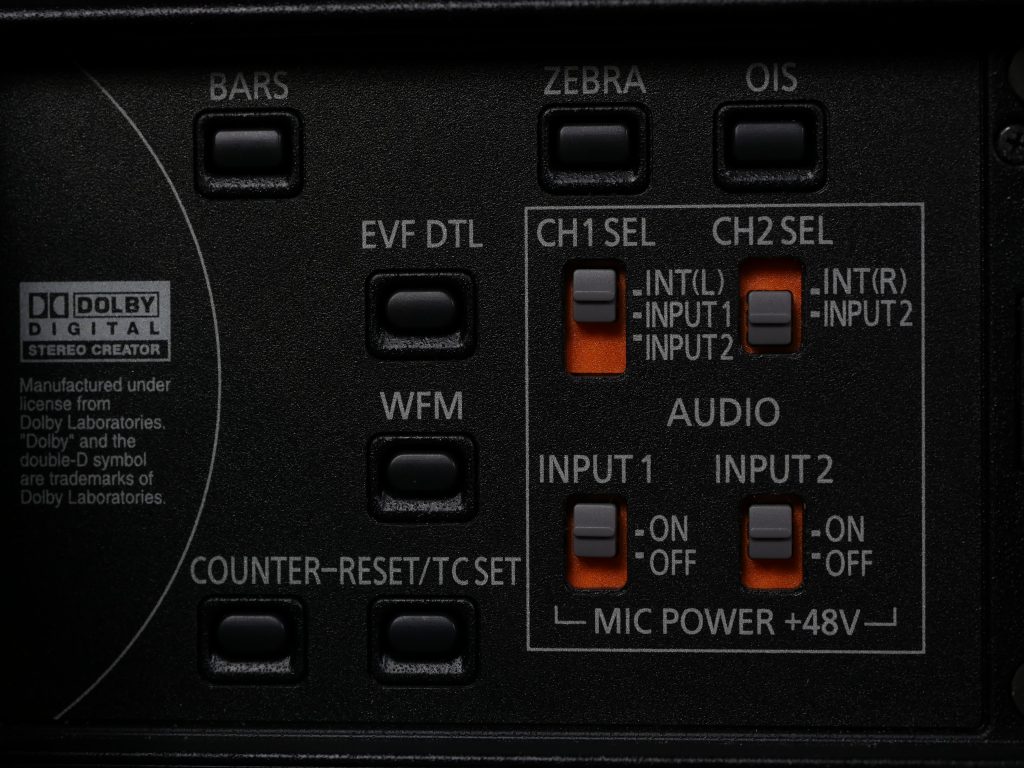
Moving back to the controls behind the flip-out screen, you’ll find button controls for zebra, image stabilization (OIS), waveform visibility (WFM) and more. There are record buttons on both sides of the camera, playback controls near the viewfinder, and a MODE button in the bottom corner that switches the camera from record mode to playback. Under the rubber covers on the back of the camera, you’ll find outputs for HDMI, SDI, and A/V cables, as well as the headphone jack.
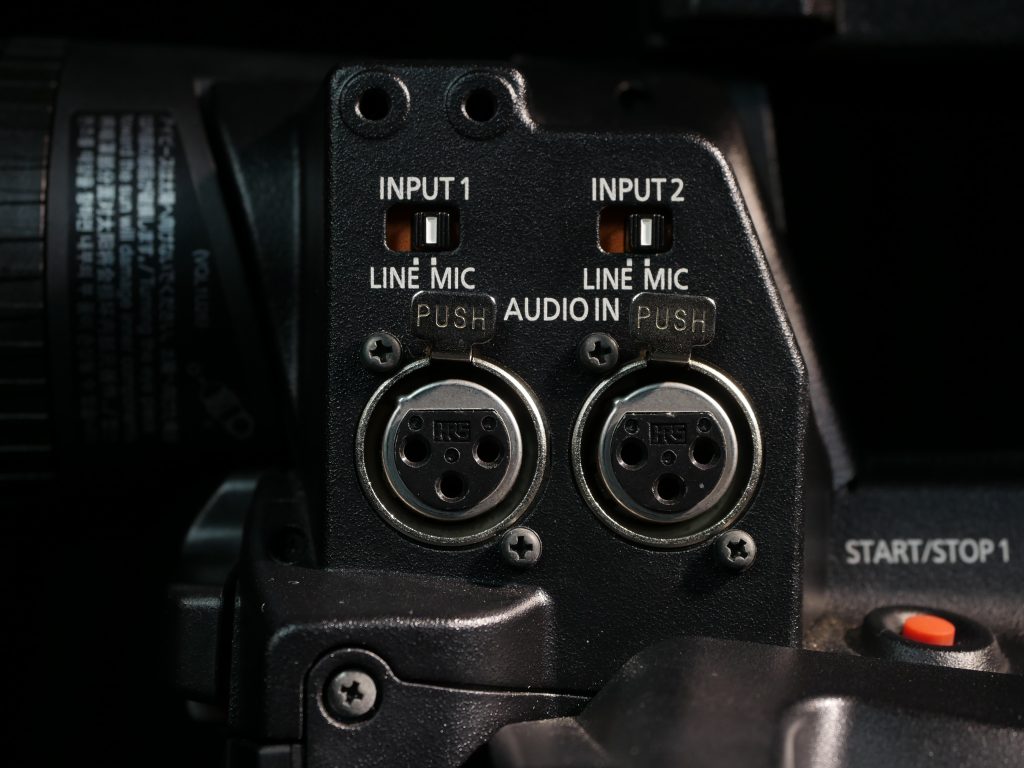
Audio controls and inputs are one big advantage of using a dedicated video camera and the AF100 does not disappoint in this area. In addition to a built-in microphone, there are two XLR inputs with optional 48V power for shotgun microphones. The inputs themselves are located on the opposite side of the camera and can be set to microphone or line level. For most of your recording, these should probably stay on microphone – line is meant for audio coming from a mixing board.
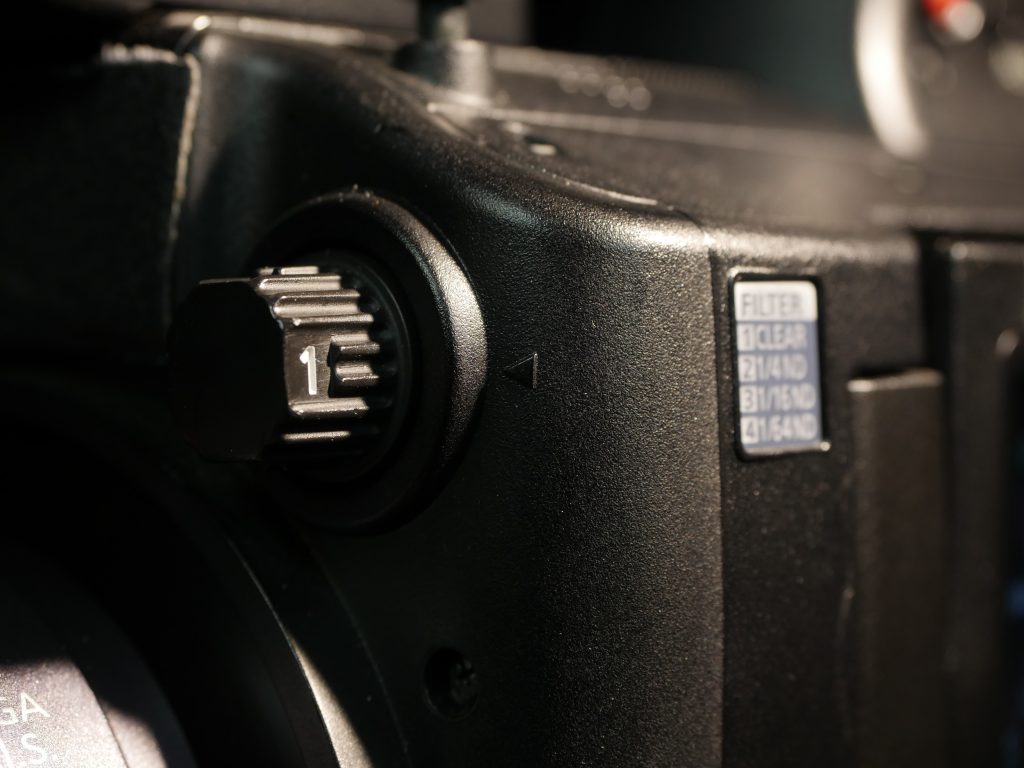
On the front of the camera, you’ll find one of the best features on cameras like the AF100: built-in ND filters. The filters are controlled with a rotating dial and are a huge asset when filming outdoors or in unpredictable lighting situations. Having built-in ND filters means that you don’t need to bring filters for the lens or a matte box.
Because of the sheer number of buttons, dials, and switches on the AF100, it can be an intimidating camera to pick up and start using. Unlike the hybrid cameras we’ve been using, dedicated video cameras have a somewhat steep learning curve – you should definitely take some time to familiarize yourself with the camera before filming with it. However, once you know the layout of the camera, you can make adjustments very quickly. It’s also a camera that is well-suited for multiple operators; for example, you might have one person controlling the sound and another recording and watching the focus.
Sony AX2000
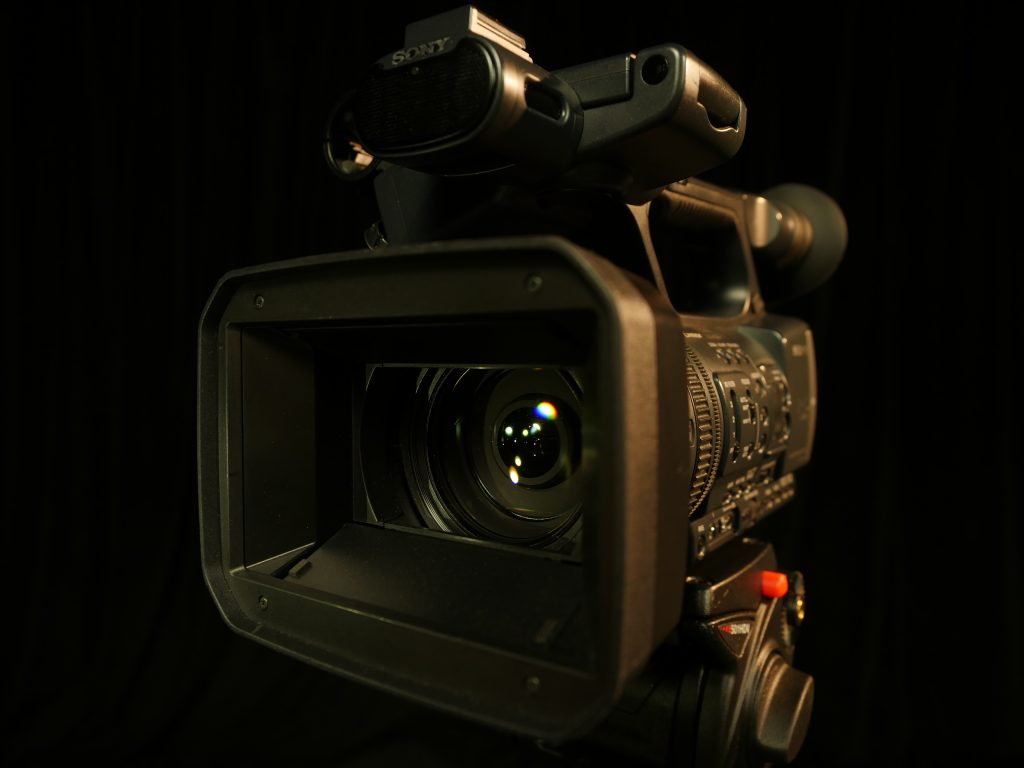
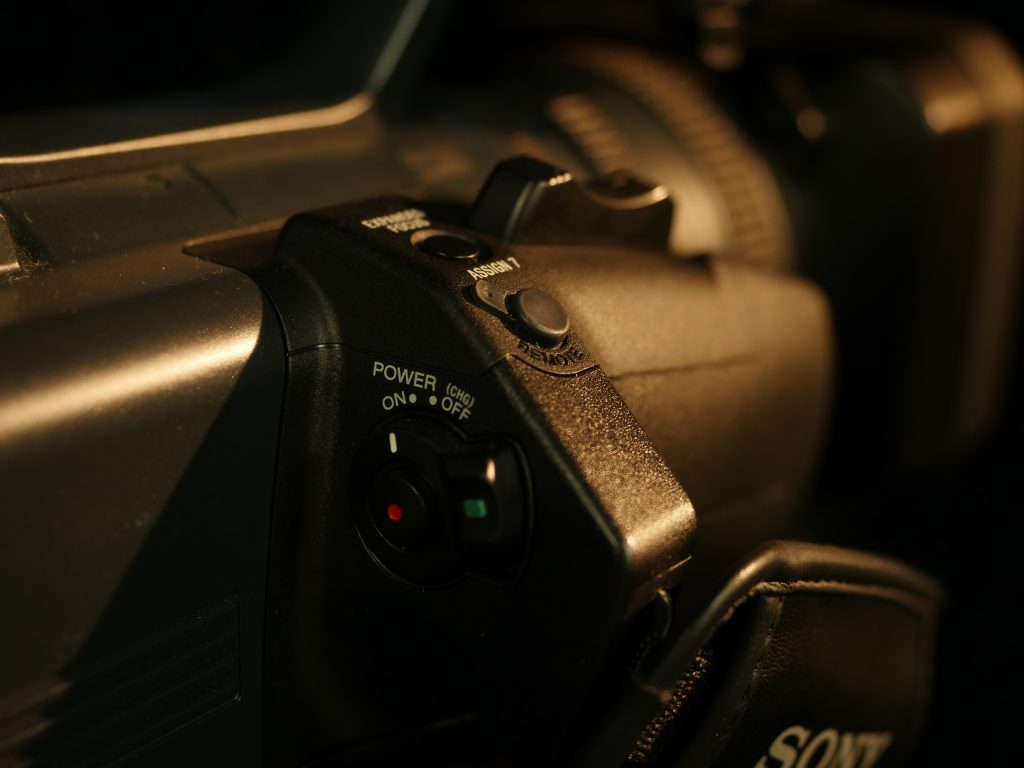
The most obvious difference between the Panasonic AF100 and the Sony AX2000 is that the Sony has a fixed lens with a massive 20x zoom – it’s roughly equivalent to a 30-590mm full frame lens. There are zoom, focus, and aperture control rings on the lens itself. It also has a removable hood with a clever integrated cap. Because the lens is integrated into the camera itself, you can control the zoom with rocker dials on the handle of the camera, which generally works better for zooming during recording. Speaking of recording, there are two record buttons on the AX2000, one on the side handle and one on the top handle. To power the camera on, turn the POWER dial around the record button on the side handle.
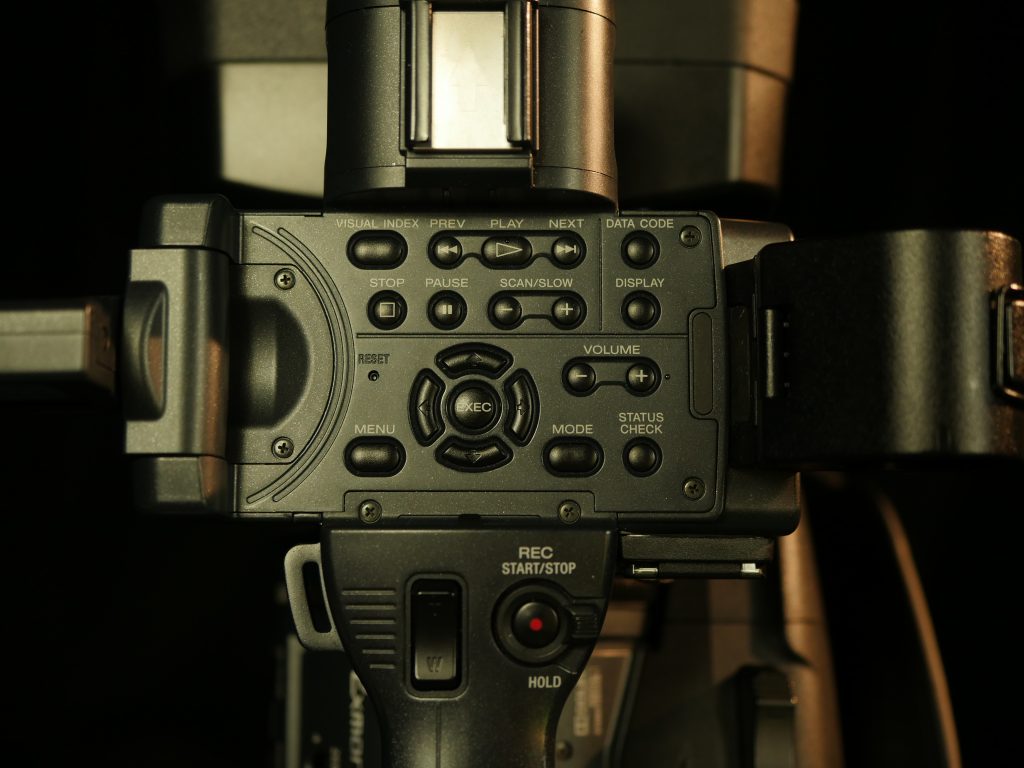
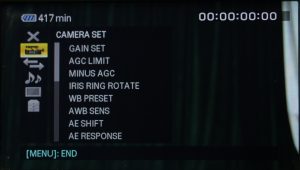
The body layout is slightly different here; there’s another flip-out screen, but it’s located at the top of the camera. Beneath the screen, you’ll find the menu and playback controls. I find the AX2000 menus a bit more logical than the AF100 – there are sections labeled CAMERA, REC/OUT, AUDIO, DISPLAY, and OTHERS. CAMERA allows you to adjust the gain settings and other options, but you shouldn’t need to change anything here. Note that the Sony measures gain in dB (like audio), as opposed to ISO.
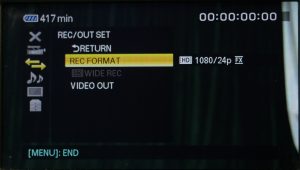
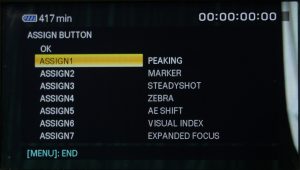
The next section, REC/OUT has the crucial resolution and frame rate options – you’ll most likely be using the 1080/24 setting. AUDIO and DISPLAY contain the settings you’d probably expect to find; again, most of these options can be set using buttons and dials on the camera body and you shouldn’t have to dig into these menus very often. The OTHERS menu has an ASSIGN BUTTON option, which can be used to customize the numbered buttons around the camera body. I like to set button 1 to focus peaking, just like USER 1 on the AF100.
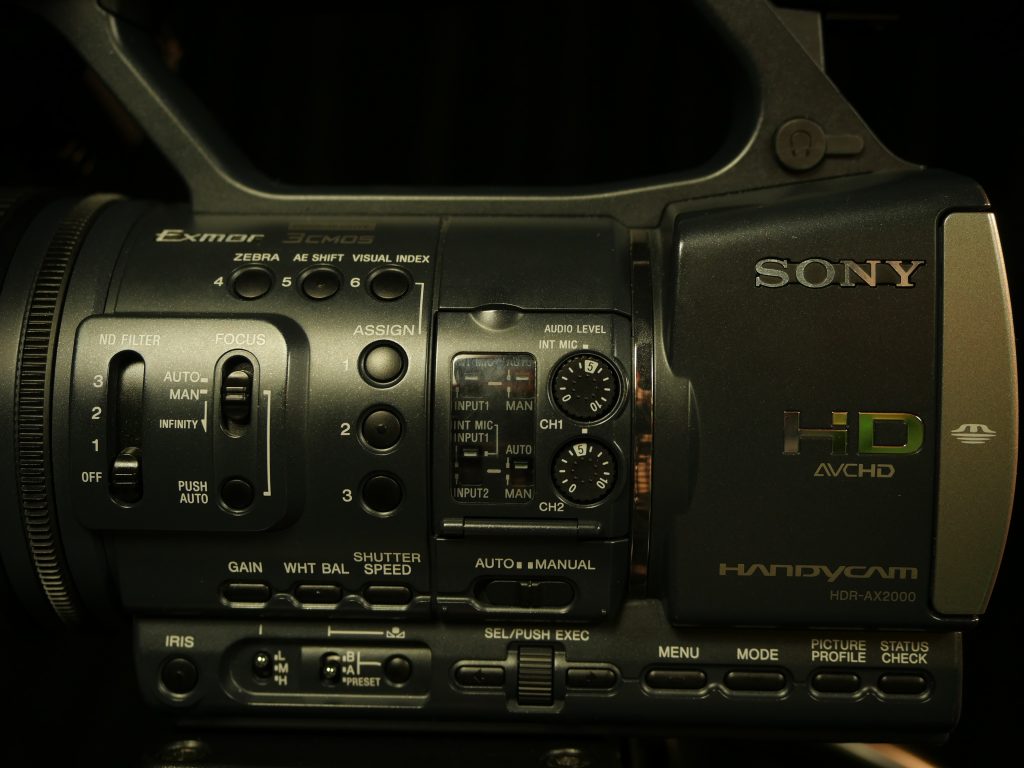
On the side of the camera body, you’ll find the now familiar gain and white balance preset switches. To set a custom white balance, you’ll need to point the camera at a white surface, press WHT BAL, then press the small button next to the preset switch. The IRIS, GAIN, and SHUTTER SPEED buttons will switch the camera between manual and automatic modes for those settings.
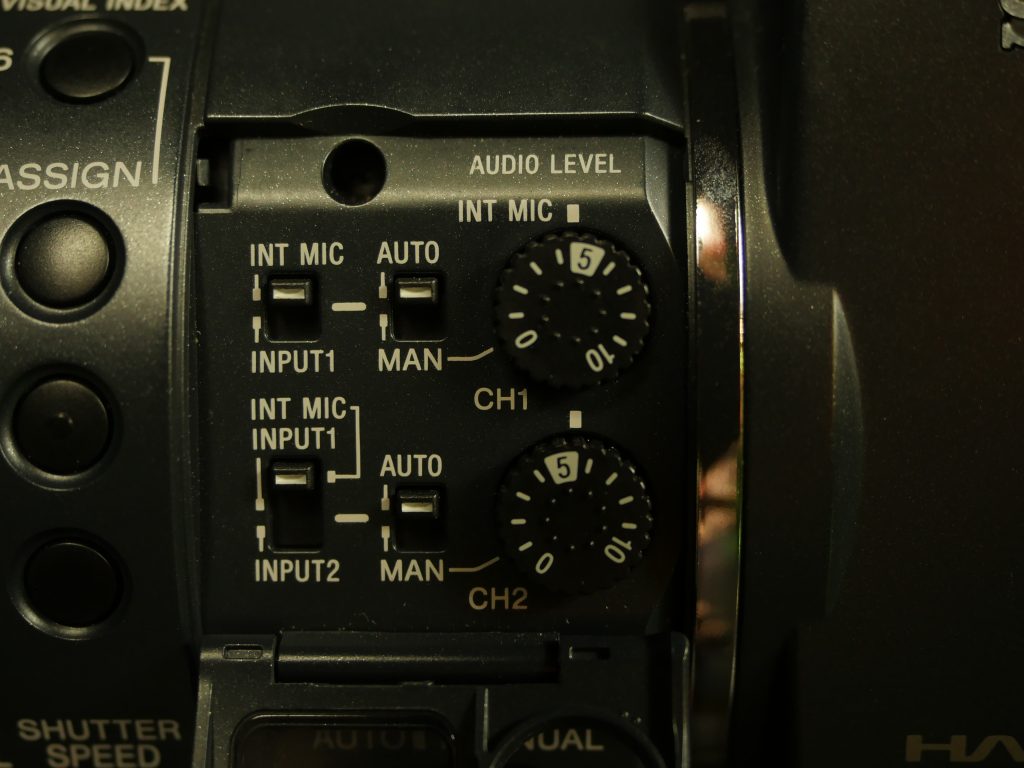
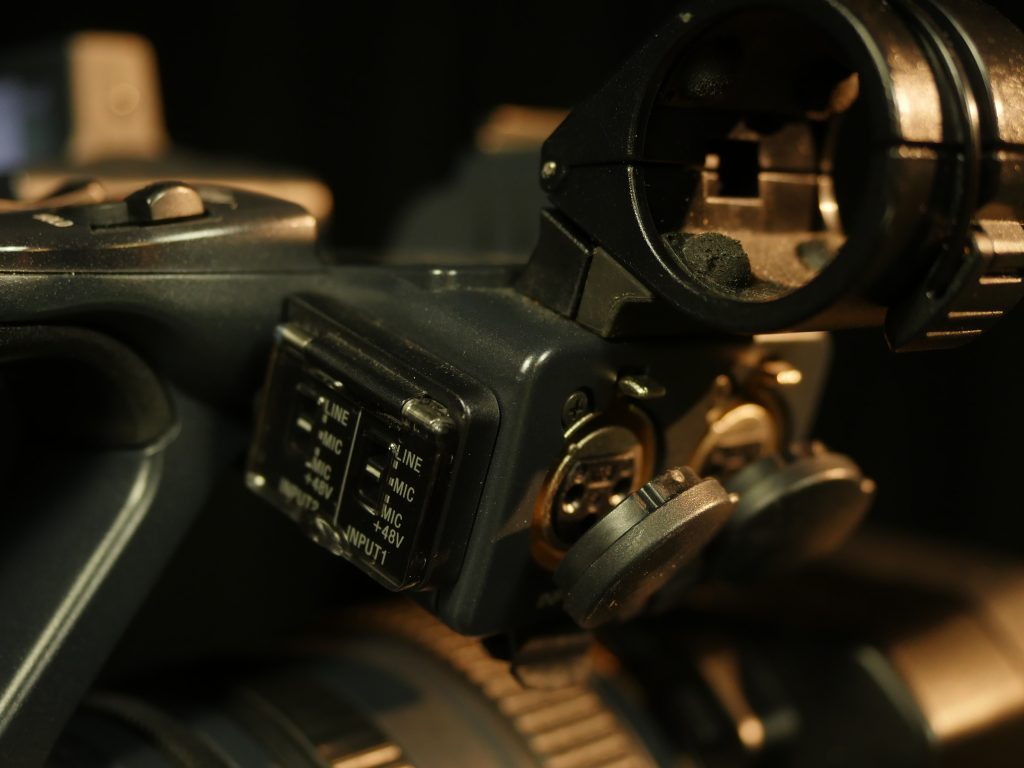
Like the AF100, the AX2000 has two powered XLR audio inputs controlled by individual dials. The input assignment and levels are set using the controls on the side (there is a small door that flips down). The line/mic/mic with 48V power modes are set near the XLR ports, which are located near the front of the camera. The headphone port is hidden under a cover near the viewfinder.
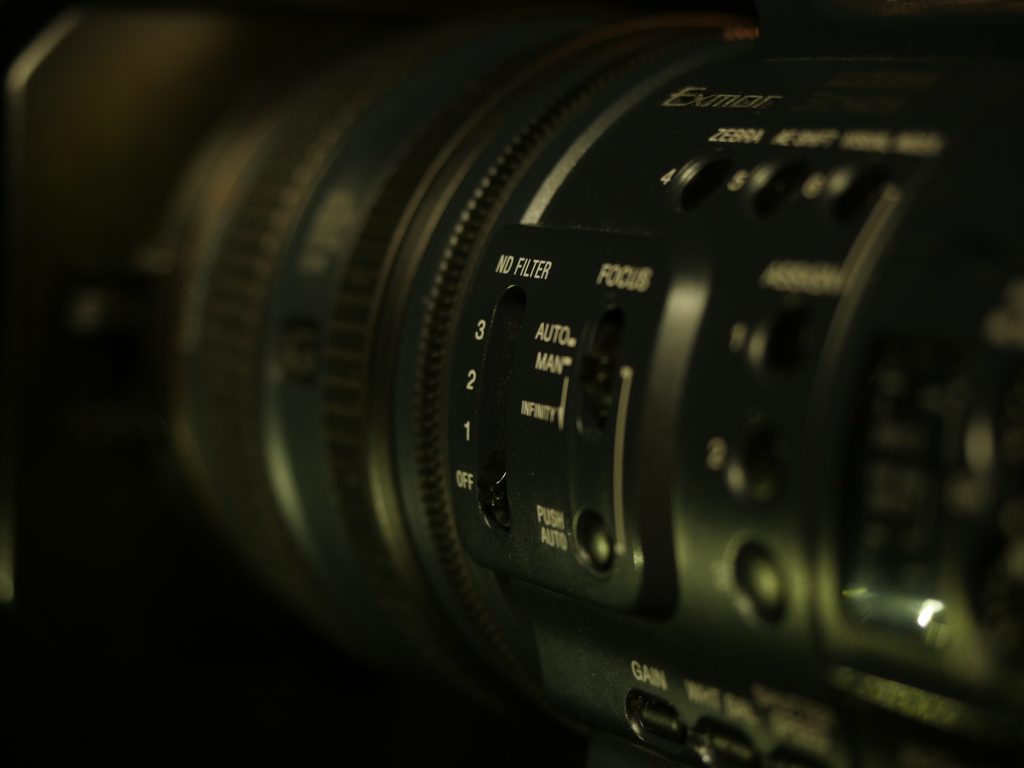
Also like the AF100, the AX2000 has built-in ND filters. These are controlled by a switch instead of a dial, but work exactly the same otherwise.
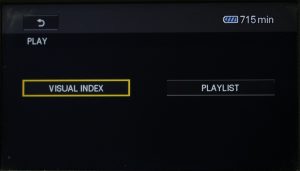
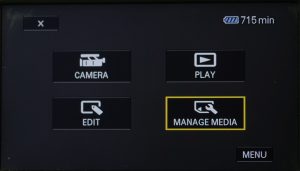
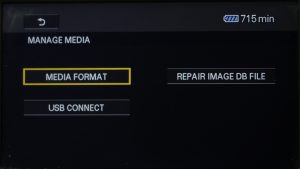
For playback, you can press the VISUAL INDEX button on the side of the camera or use one of the MODE buttons. You also use the MODE button to enter the MANAGE MEDIA menu section, which is used to format the SD card. On the back of the camera are HDMI and A/V outputs, but no SDI.
Best Practices
As I mentioned in the instructions for Project 2, two situations where’ll you’ll see cameras like these used a lot are formal interviews and event videography. Without getting too deep into cinematography and sound design, there are some basic tenets that you should follow when you’re filming in these situations.
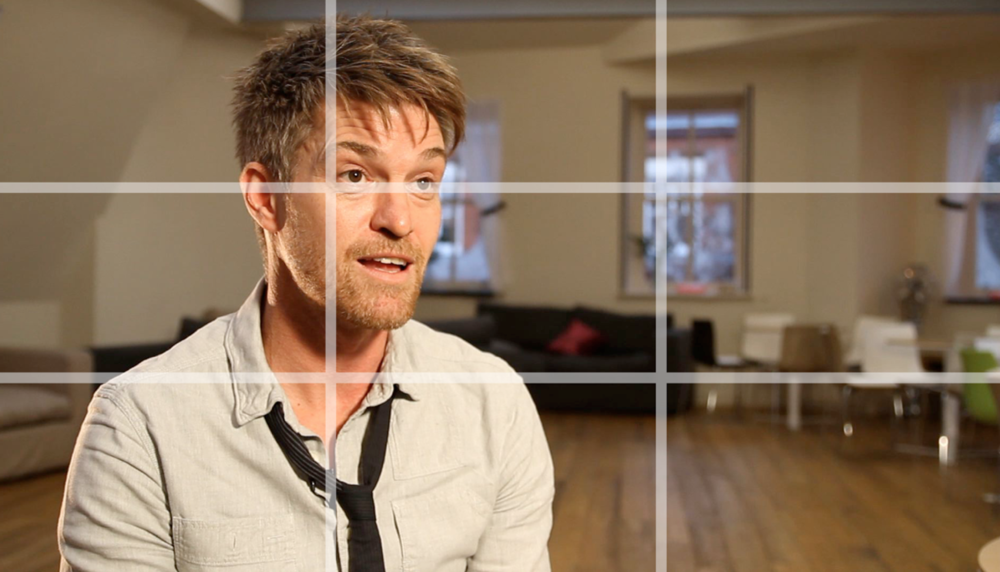
If you spend any time at all studying film, you will probably hear the term “rule of thirds,” which involves arranging your image around an imaginary grid that divides the frame into thirds. For an interview, the “classic” framing is a medium close-up with the subject placed slightly off-center; their body is centered roughly on a vertical third line and their eyes fall on the top horizontal third line. The subject should (generally) face “into” the frame, angled towards the empty third line. This creates an image that is visually pleasing and natural-looking. Don’t put your subject too close to a wall behind them – bringing them away from the background allows them to stand out as the most prominent part of the image.
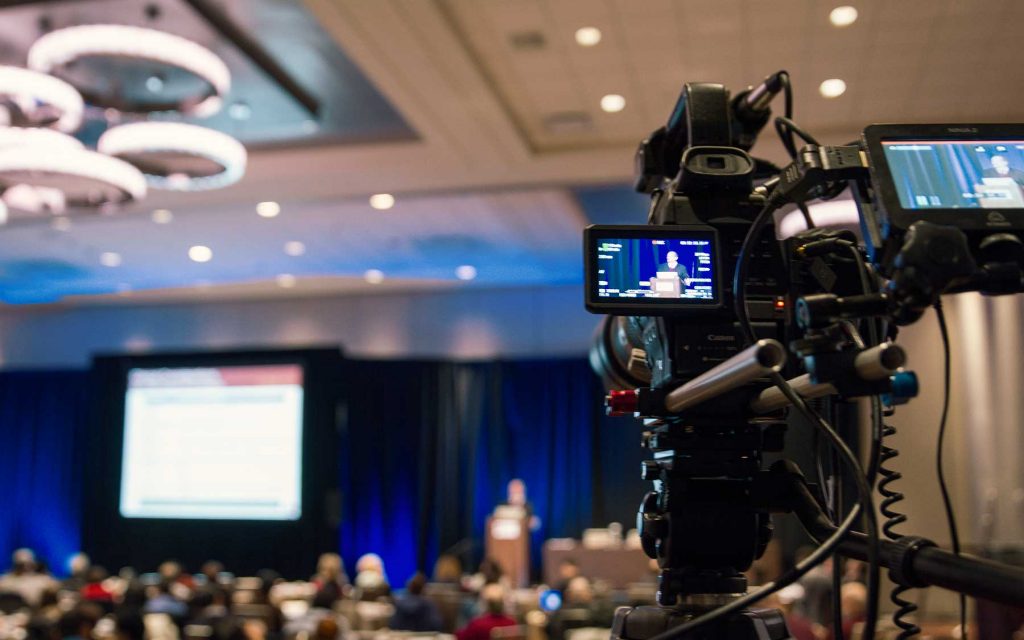
When you are recording an event – a wedding, lecture, awards ceremony, whatever – you will probably need to fight the natural impulse to constantly zoom and pan around the frame. Follow the action, but do so gently – don’t move the camera in sudden, jerky movements. When you decide to zoom in or out, do so for a reason: to highlight a point or show a detail, not because you are bored or restless. Try to anticipate what is happening in the event and plan your movements accordingly – for example, you might begin to zoom out as someone finishes a presentation, in order to see the audience clapping. Fast pans, tilts, and zooms can make your audience feel queasy, so move the camera slowly and deliberately.
When you are monitoring audio, it’s important to capture sound that is loud enough to be clear, but not so loud that it becomes distorted. It’s actually better to record sound that is too quiet than it is to record sound that is too loud. The general rule is that the levels for spoken audio should fall somewhere between -12dB and -6dB and most cameras have onscreen audio meters to help with this. If audio “peaks,” or gets too loud for the camera, you will see the meters go into the red. That’s a sign that you need to turn down the levels.
Of course, you should always use headphones when recording audio. Meters will tell you how loud something is, but they won’t tell you what it actually sounds like. If someone has a problem with their microphone, for example, you need to be able to correct the issue.
