Get Vertical
We’ve spent some time discussing “impossible” camera moves already – Steadicam and gimbal shots that give the impression of the camera floating smoothly through an environment. This week, we’ll be looking at another impossible move: the epic, bird’s-eye crane shot.
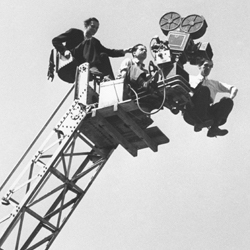
The “classic” crane shot gives a sense of scale by pulling away from the subject and revealing the wider environment. This can be done to gradually reveal the consequences of a conflict; or to emphasize a feeling of hopelessness in a character; or to show release after an intense trial. However, crane shots can also be subtler – for example, you might use a crane to follow a character as they descend a ladder in a relatively simple motivated move.
The following crane shot from the 1939 Civil War drama Gone with the Wind is one of the most famous in movie history. To achieve the shot, the filmmakers brought in a construction crane from a ship yard – conventional film cranes couldn’t reach the desired height. A concrete runway had to be poured to support the weight of the equipment and hundreds of extras were interspersed with hundreds of dummy bodies.
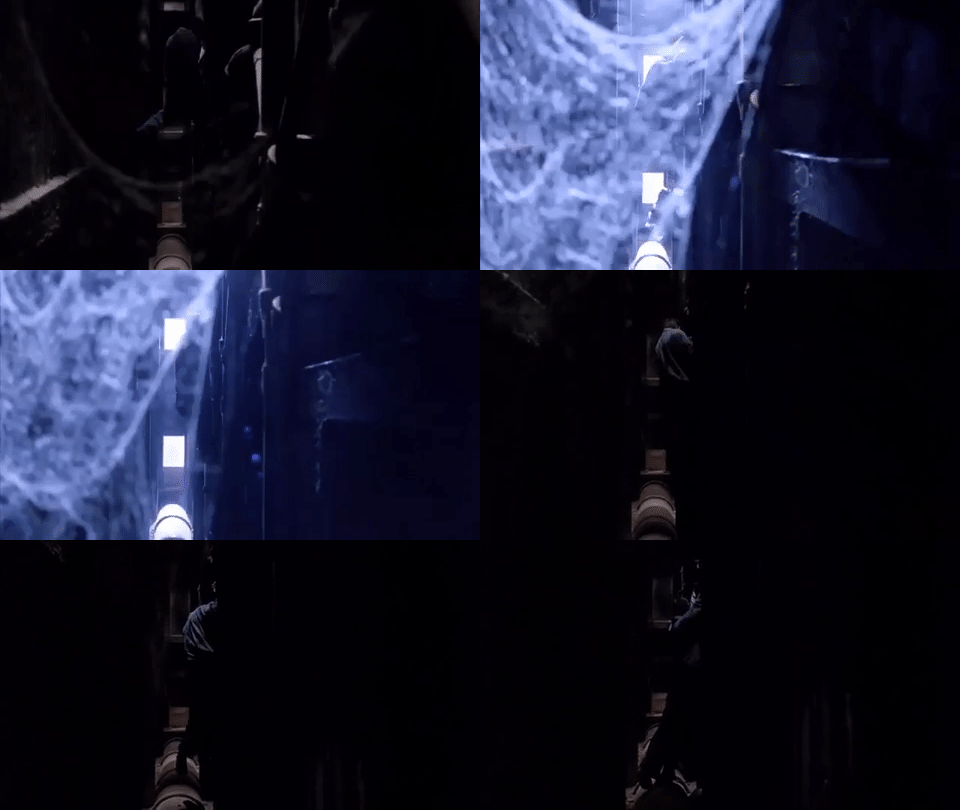
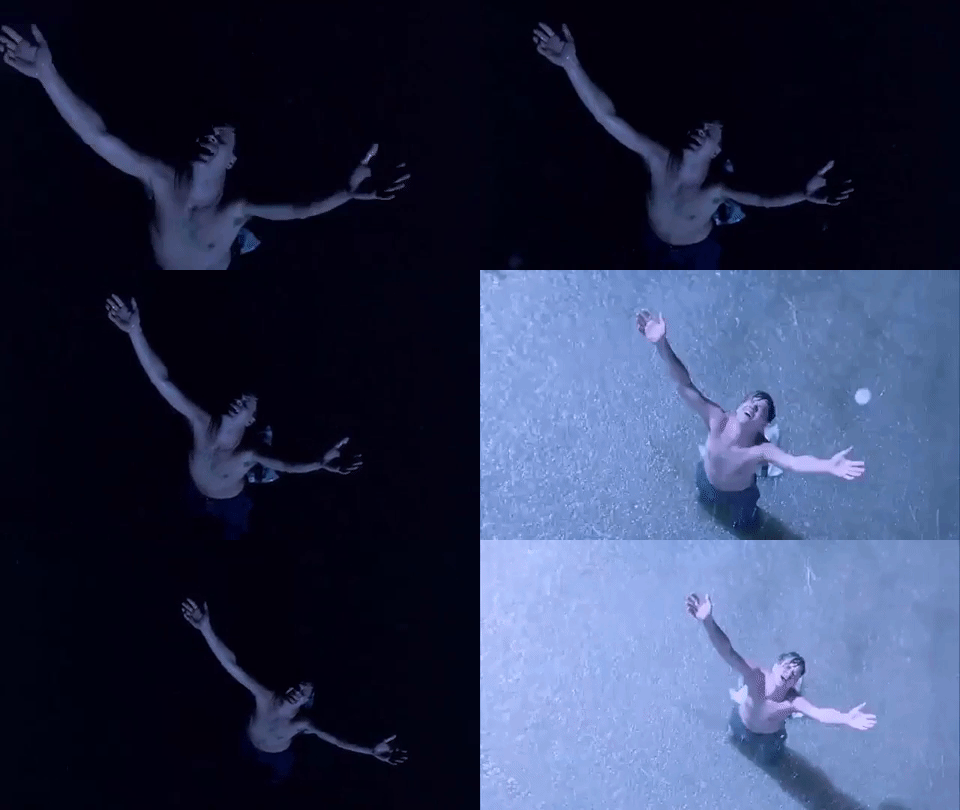
One of the other classic crane shots from cinema history takes place at the end of the 1994 film The Shawshank Redemption, when Andy Dufresne finally escapes the titular prison. The moment has been riffed on and parodied over the years, but it’s undeniably powerful. There are actually crane shots throughout The Shawshank Redemption – in the same sequence, the camera follows Andy vertically through the bowels of the prison. Moments like these aren’t as flashy, but they show the versatility of the crane as a movement tool and establish a pattern of camera movement that makes the final shot feel like a natural progression.


The Cut of Your Jib
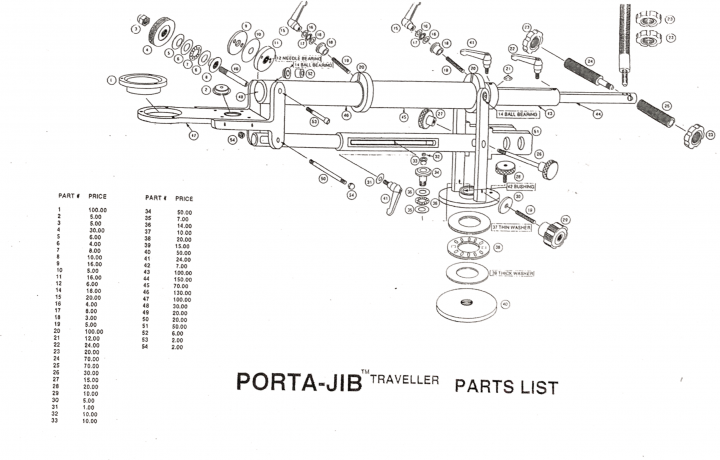
We have a relatively compact crane in our equipment collection: the Porta-Jib Traveller, which folds down into two long cases for transport. The crane has a travel distance of about six feet. That might not sound like much (we won’t be recreating that Gone with the Wind shot any time soon), but it can still create very dynamic shots.

When you first pull the Traveller out of its boxes, it can seem dauntingly complicated. The jib folds up onto itself in order to fit into a case. There are a lot of moving parts, joints, and extensions. The crane is also fairly heavy, so it’s easy to pinch a hand in the machinery as you are setting it up. I recommend mounting the jib to its tripod base and then slowly unfolding the boom arm. Once you’ve assembled it once, it will start to make sense – just go slowly and be careful.
You can download the instruction manual for the Porta-Jib Traveller at this link. There’s also a painfully low-res assembly video below.
When you have the crane assembled, you can use the 100mm bowl mount to attach a fluid head for mounting the camera. You’ll also want to add weight to the back of the jib to balance the camera. You should be able to easily move the camera around the jib’s full range of motion when everything is balanced.
Here are some tips for getting successful crane shots:
- Use foreground objects to create visual interest and layers of movement.
- Point the camera straight down (or straight up) to achieve shots you couldn’t get with a tripod.
- Experiment with vertical movement as well as rotational movement – and try combining the two.
- Nailing focus is tricky without a remote control, so use a smaller aperture or bring your subject into focus during the camera move.
- Getting a crane or jib set up and balanced can be time consuming, so plan your shooting schedule accordingly.
