Three Axis of Power!
We actually have several gimbals in our collection – each with different strengths and weaknesses. Here’s what we have and how to best use each one.
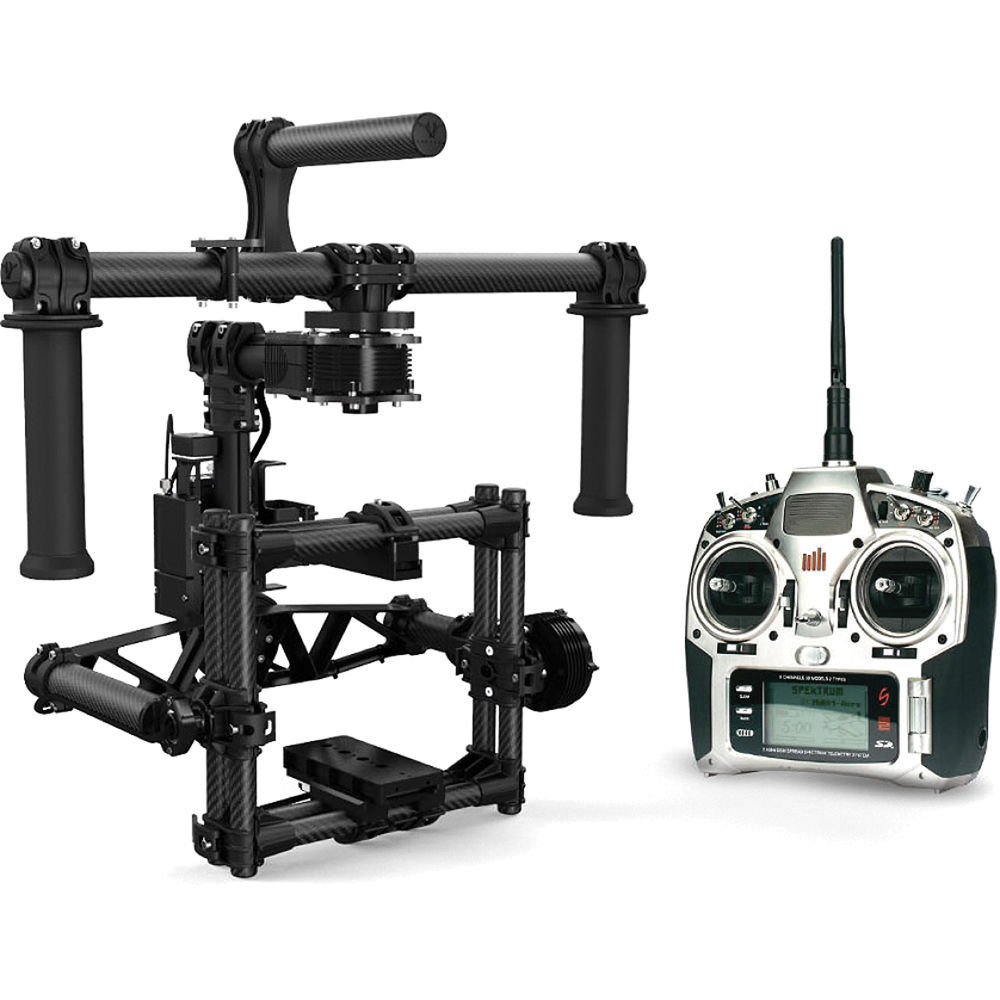
Movi M5 – The Movi M5 was one of the first high-quality gimbals on the market to achieve widespread use. It’s a two-handle gimbal made of carbon fiber and it can support hybrid cameras – but a larger camcorder will probably exceed the weight and size limits. It can also be controlled with a remote control, allowing for a two operator setup.
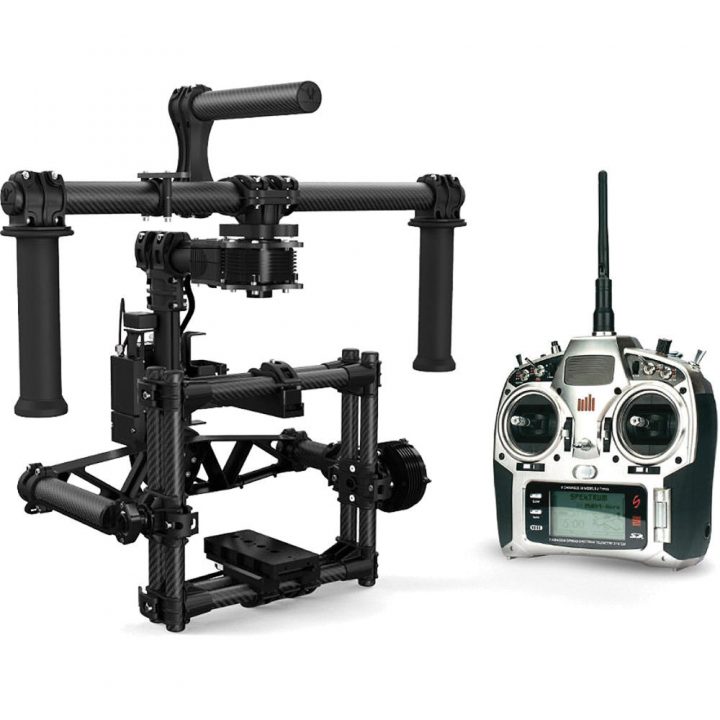
The camera mounts to the gimbal using a top and bottom plate. These slide into a “cage” of carbon fiber rods. With the camera mounted, it must be balanced. This is done by holding the gimbal so that only one axis can move and then adjusting the position of the camera so that it is as well-balanced as possible. On the Movi, adjustments are made by loosening thumb levers, sliding the rod clamps, and re-tightening.
This process is similar on every gimbal – the camera is mounted, then each axis is tested and adjusted until the camera is in a “neutral” position. If you twist the platform to any position, it should just “hang” there – if it swings quickly in one direction or the other, it isn’t properly balanced.
Balancing a gimbal takes practice – and it can seem complicated at first. Once you have a good grasp of the basic principles, however, the process goes fairly smoothly. I can only ensure you that it is infinitely simpler than trying to balance a camera on a Steadicam.
One thing you’ll need to keep in mind when using the M5 is that you can’t really set it down. You can place it on its custom stand, but it has no base of its own. Don’t forget the stand when using the M5. The stand is also a necessity for balancing.
The M5 is a very powerful filmmaking tool. However, as an older gimbal, it does have a few quirks. It uses very strange (somewhat volatile) batteries that must be connected using a flimsy wire – and only the red wire should be connected to the gimbal, not the white one. These batteries are charged using a proprietary system – both wires should be connected to the charger. Newer gimbals have much simpler power solutions. Also, while the tool-less adjustments are great, the process is still involves a lot of fiddling around and having to attach a top and bottom plate to the camera is a bit inconvenient. These issues aside, you can get stunning results with the M5 – it’s a professional-level piece of equipment.
Nebula 4000 – The Nebula 4000 was an early example of the single-handed gimbal. It operates on exactly the same principles as the M5 – three motors keeping a balanced camera level – but on a smaller scale. It has a pretty low weight limit: it works well with the BlackMagic Pocket or a GH4 with a lightweight lens, but anything heavier than that will be a struggle.
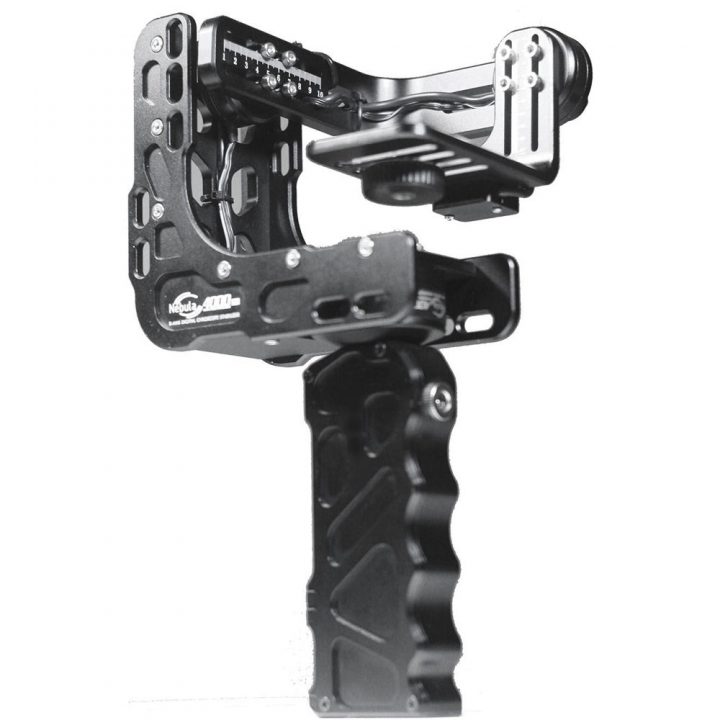
There are now a lot of single handed gimbals on the market, but the Nebula was pretty unusual when it was released. It was also less expensive than most gimbals on the market at the time. Professor Faden used it extensively on a research trip to Japan, where he had to capture footage quickly in a fairly unpredictable environment.
That being said, you should not use the Nebula 4000. It is extremely difficult to balance a camera on it – it uses several tiny hex screws that need to be individually loosened and re-tightened with a small Allen key. If you do manage to get the camera balanced, the gimbal’s firmware is flaky and prone to fail. The gimbal will sometimes shake or swing erratically. If you happen to bump the camera while the gimbal is running, it completely loses orientation.
I’ve included the Nebula 4000 in this list for the sake of completeness – and because it’s an interesting artifact of a still-developing technology. However, there are much better stabilization options available.
DJI Ronin S – The Ronin S is our newest gimbal. It has a similar form factor to the Nebula 4000 – it’s a single-handed gimbal designed for hybrid cameras – but it improves on that design in virtually every way.
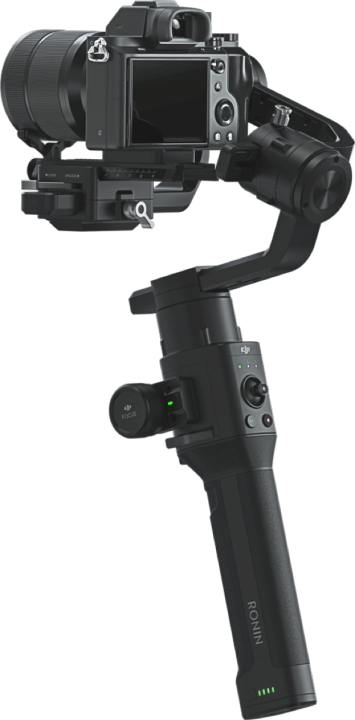
The Ronin S actually has the highest weight capacity of any of our gimbals – around seven pounds. That’s enough for a hybrid camera with a heavy lens or even a small cinema camera with a lightweight lens. The camera mounts to the gimbal using a Manfrotto-style tripod plate and balancing is fairly quick and easy using a few thumbscrews.
In terms of general design, there are two killer features on the Ronin-S. One is the rear motor arm, which is offset at an angle below the camera itself. This design allows you to easily see the rear screen of the camera when operating the gimbal. The other feature is a tripod base that can be folded up into an extended handle for the gimbal. The tripod base allows you to set the gimbal down between takes or make balancing adjustments. The extended handle is helpful for dealing with the weight of the gimbal and camera.
There are a lot of features on the Ronin S – there are three customizable modes, as well as a quick-follow “sport” mode. You can hold the trigger on the handle to lock the orientation in place, or press it twice to re-center everything. There are also various options in the DJI phone app, including motion time-lapse and pre-programmed repeatable moves. For a very quick overview, check out the video below.
DJI Osmo – The three gimbals listed above are all designed to be used with small-to-medium sized cameras and they all need to be carefully balanced before use. The DJI Osmo takes a slightly different approach: it’s a small camera permanently attached to a three-axis gimbal. That means that the unit never needs to be balanced and the camera can be directly controlled by the gimbal.
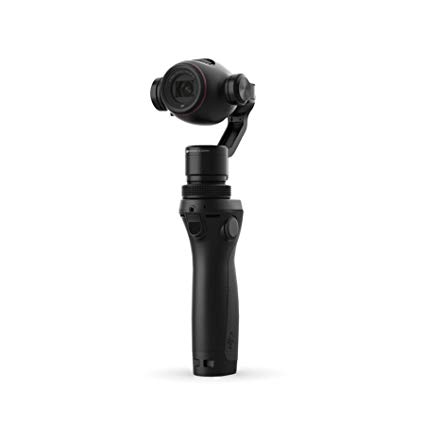
The camera on the Osmo has a wide angle lens that can be cropped in on slightly – it’s a lot like a high-end GoPro. The gimbal will point in whatever direction you aim it, but you can lock it into position with the trigger, just like the Ronin S. There’s also a joystick for making manual adjustments.
There’s no screen of any kind on the Osmo, which means that you need to pair it with your phone or a tablet in order to see what you’re filming. The phone app is also used to change exposure and recording settings on the camera. The Osmo connects to your phone via WiFi – the password is 12341234. You can find the full instruction manual for the Osmo at this link.
Once you do get into the camera settings, you’ll find that the Osmo has a ton of recording options, including 4K and a variety of slow motion settings.
Gimbal Tips
Gimbals are a ton of fun to use and they open up a lot of creative possibilities. However, it’s still important to be intentional with how you use them. Shots need to be blocked and composed thoughtfully to take full advantage of the unique perspective offered by gimbals. When a camera is locked on a track or a tripod, you are forced to work slowly and carefully. Gimbals let you improvise, moving the camera freely – but you will get the best results with a little planning. Here are some tips for getting great gimbal footage.
- Use foreground elements to maximize the impact of the movement
- Try a wide lens to help stabilize the image
- Fine unique perspectives that wouldn’t be possible with other gear
- Keeping focus is challenging – try a smaller aperture or focusing at your end position and bringing your subject into focus throughout the move
- If you want the absolute smoothest footage possible, try filming at 30 or 60 frames per second and slowing down the footage
