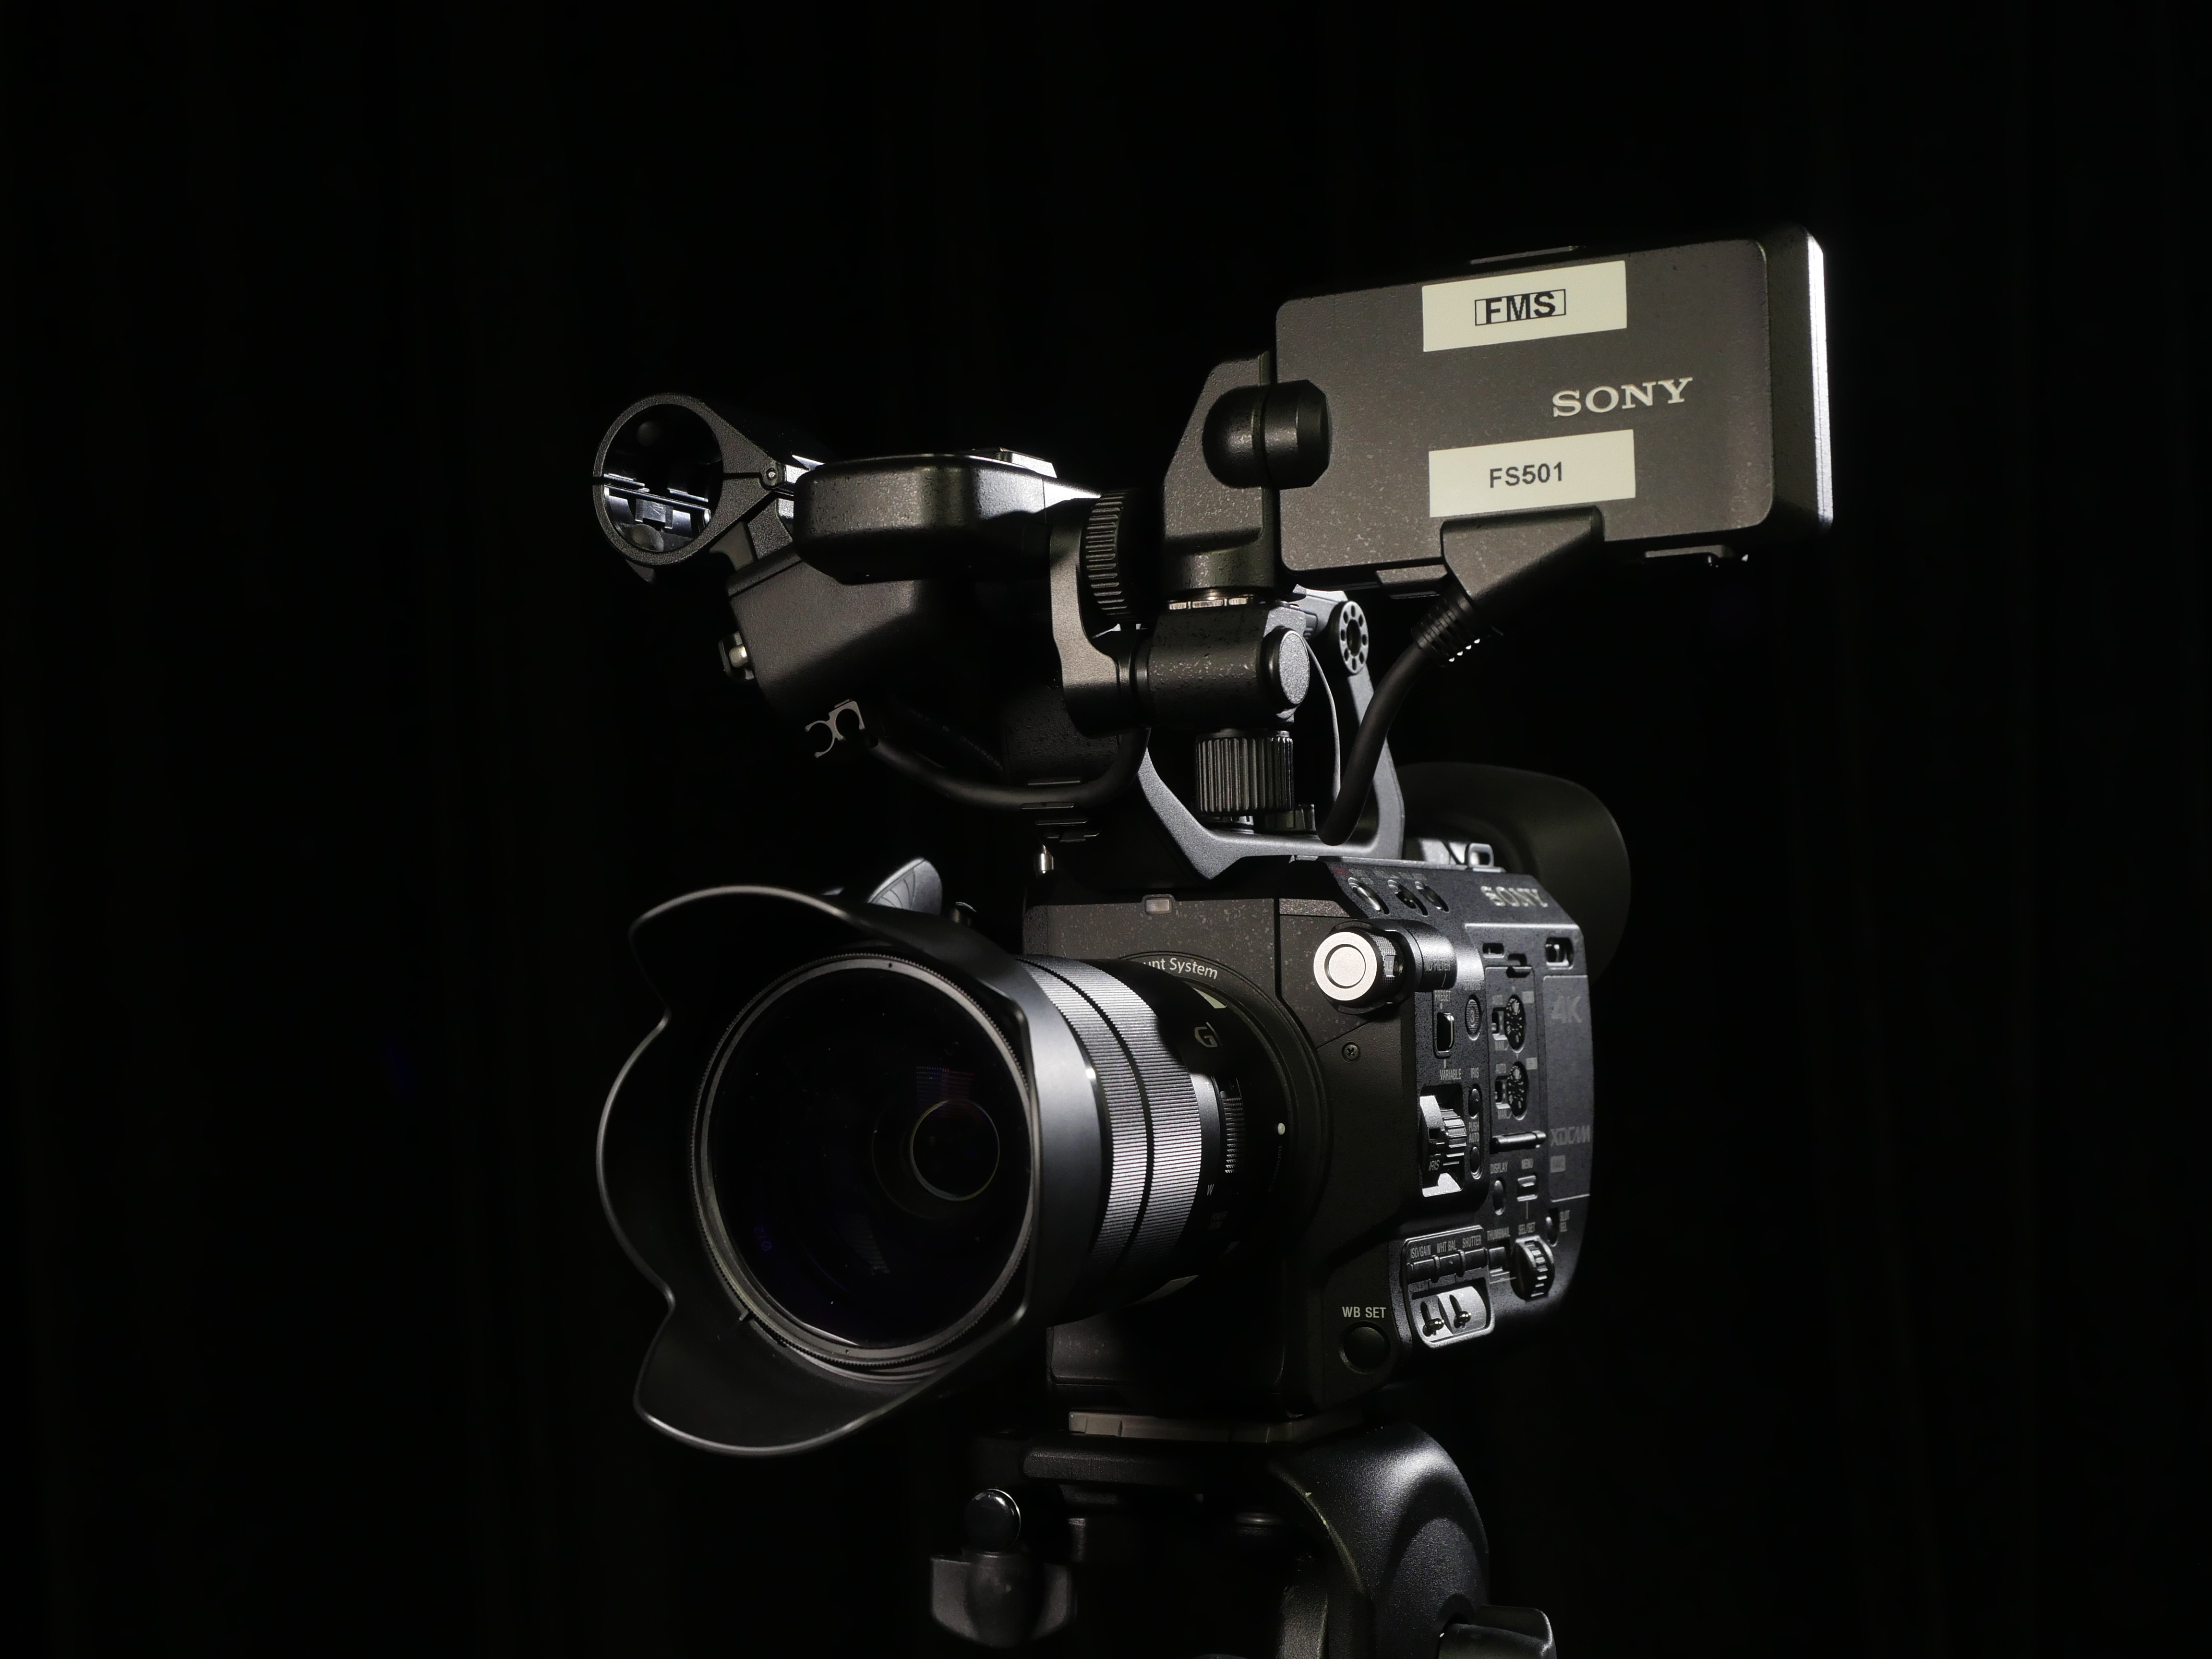
A Very Capable Camera
The layout and body style of the Sony FS5 should be familiar to you – it’s quite similar to the dedicated video cameras we looked at before, particularly the Panasonic AF100. The viewfinder, monitor, audio controls, and external buttons and dials are all in similar positions. The FS5 is essentially the same kind of camera as the AF100, but with newer features and updated specs.
In terms of functionality, the FS5 is the most well-equipped camera in the Film/Media Studies collection. It has all the benefits of a dedicated video camera – unlimited recording time, long battery life, dual media slots, built-in ND filters, robust audio options, tons of external controls – along with the features present on our newer hybrid cameras, such as 4K recording and slow motion options.
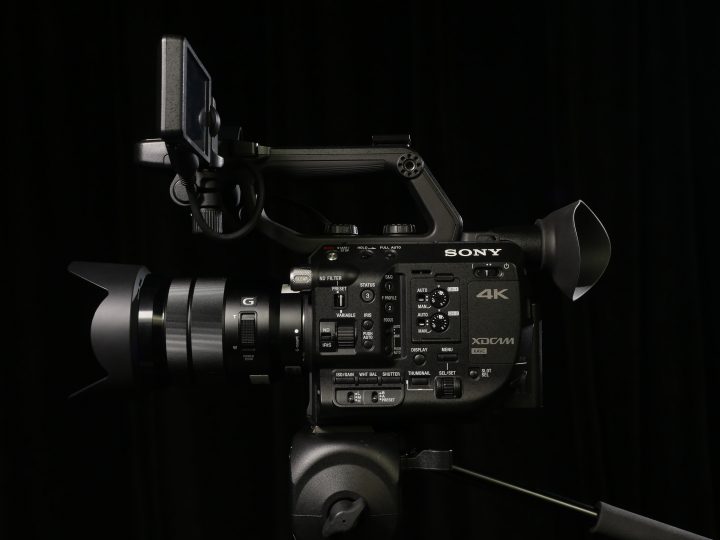
It also has a larger sensor than the other cameras in our collection: it’s an APS-C sensor, which has a 1.5x crop, compared to the 2x crop on our Micro Four Thirds cameras. That means it will do better in low light, create a shallower depth of field, and capture a wider field of view. I do want to stress that bigger sensors are not inherently better, but they do offer unique features.
In terms of lens options, the larger sensor and mount means that our Micro Four Thirds lens will not work with this camera. Our Nikon mount prime lenses can be used with an adapter, though. We also have a native Sony lens for the camera: an 18-105mm f/4 powered zoom lens.
Menus
Before we dig into the external controls and layout of the camera, let’s make sure the menu settings are dialed in. The menu is a modernized version of what was present on the AX2000, with sections for camera, rec/out, audio, display, TC/UB, network, and system settings.
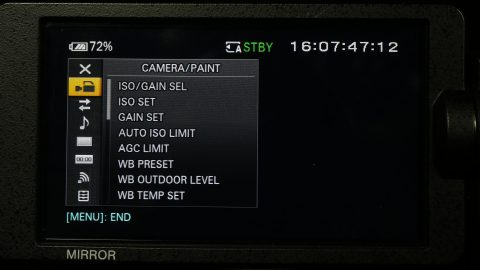
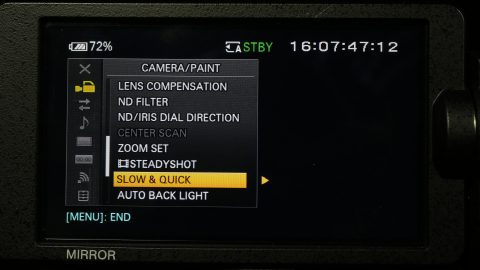
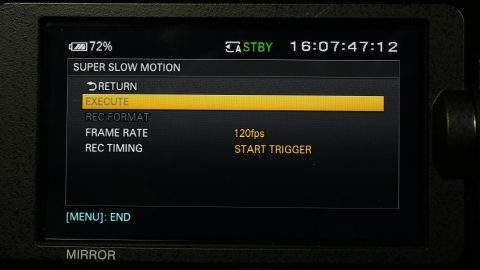
In the camera settings, you can define the ISO, white balance, ND, and other presets. Near the end of the camera section, you’ll find options for “Slow & Quick,” which is what this particular camera calls slow motion shooting. There are two options for slow motion: “S&Q Motion” and “Super Slow Motion.” Of these, the Super Slow Motion has a lot more options. You can choose 120, 240, 480, or 960 frames per second recording, as well as whether to trigger recording at the start or the end of the action. This functions very much like the High Frame Rate mode on the Sony RX10 II. Once you have the slow motion settings you want dialed in, there is a dedicated S&Q button on the side of the camera for entering that mode.
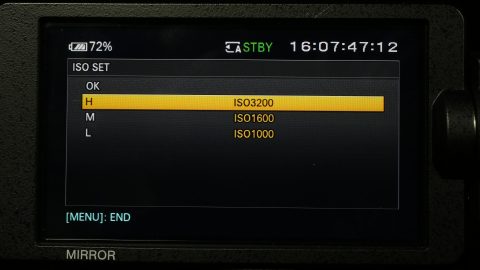
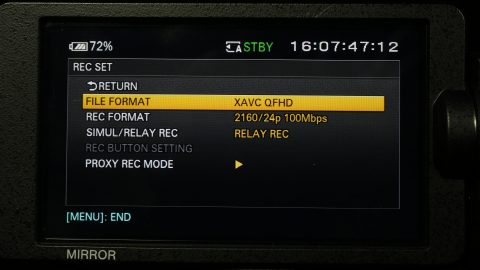
In the next section, Rec/Out, you can choose the frame rate, resolution, and video output settings. For 4K recording at 24 frames per second, go to the Rec Set option and choose the XAVC QFHD file format and the 2160/24p 100Mbps recording format. For HD recording, choose the XAVC HD file format and the 1080/24p 50Mbps recording format.
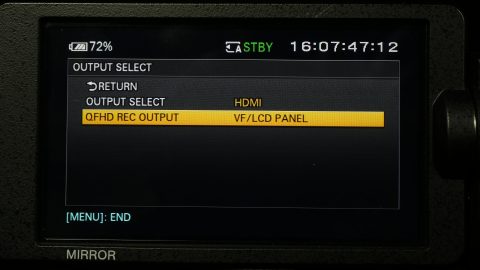
If you are using an external monitor with the camera, you may need to go into the Video Out options. Under Output Select, you can choose to output over HDMI or SDI. When you are recording in 4K, the camera is unable to output to multiple screens simultaneously during recording, so you can choose the external output or the camera’s built-in monitor under QFHD Rec Output.
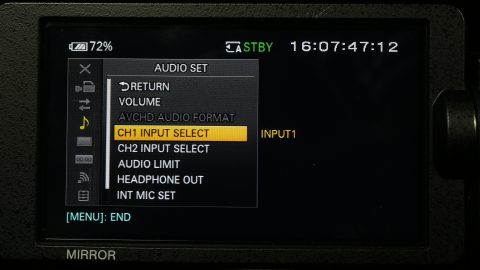
You’ll find the usual settings in the audio section. You should make sure that the “Ch1 Input select” and “Ch2 Input Select” are set appropriately. If you want to use the two XLR inputs on the camera, set Channel 1 to Input 1 and Channel 2 to Input 2. If you want to use the camera’s built-in microphone (which I would not recommend for serious work), you can set that there as well. You can also set both channels to record Input 1, which will give you the same microphone input twice with independently controllable levels. This is useful for creating an audio safety track – you could set one channel a few decibels lower to guard against the audio peaking.
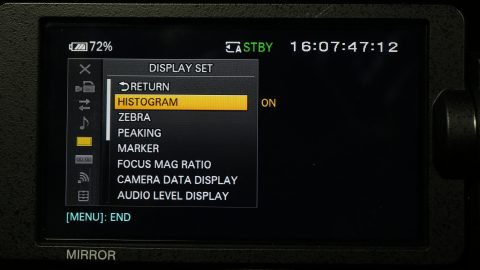
The display section contains options for the camera’s many exposure assist features, such as a histogram, peaking, and zebras. You can also toggle the audio display levels, framing guides, and other on screen information. One useful setting is the shutter display, which allows you to select shutter speed in fractions of a second (like a hybrid camera) or shutter angle. If you choose degree (shutter angle), you can leave the shutter setting at 180 and not worry about adjusting it when you switch frame rates.
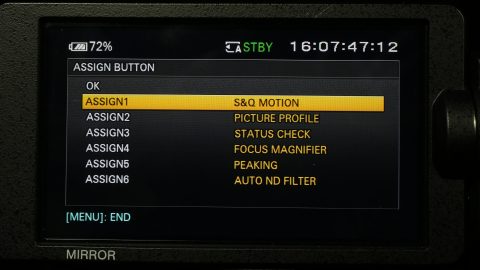
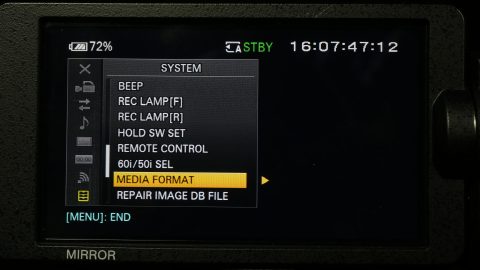
The TC/UB section has options for outputting timecode, which you shouldn’t need to worry about for this class. You also shouldn’t need to make any changes to the network settings, which are used for wireless file transfers and streaming. In the system section, you can customize things such as the assignable buttons and dials. Near the end of the system menu is the media format option, which is used to format the SD cards.
Camera Controls
On the side of the camera, you’ll find the usual plethora of physical external controls that you should expect on a high end dedicated video camera. There are preset switches for the ISO/gain and white balance and the button to set a custom white balance is on the front. Again, to set a custom white balance, point the camera a something white and hit the button. The presets for both ISO and white balance can be customized in the menus.
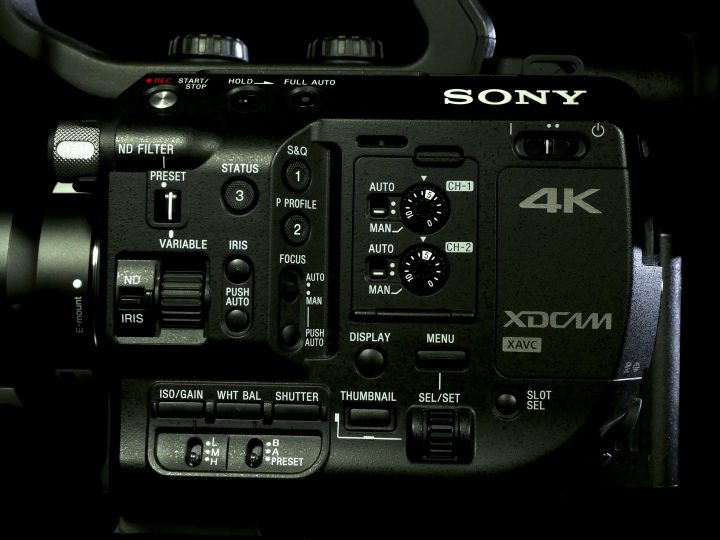
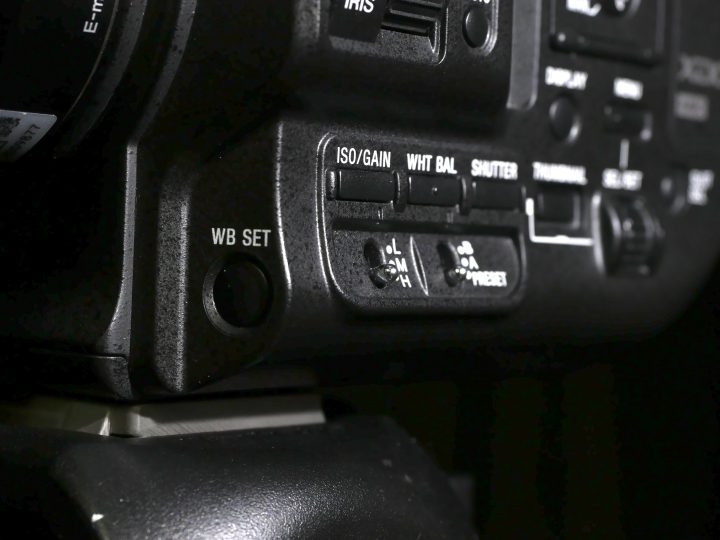
Also on the front is a dial for the build-in neutral density filters. The ND filters on the FS5 are pretty unique in that they are electronically controlled and can be set to preset levels or adjusted smoothly. To use presets, set the ND filter switch to preset; for finer control, set the switch to variable and make sure the ND/iris selector switch is on ND. You can then use the wheel next to the switch to smoothly adjust how dark the ND filter is. To change the aperture of a lens with electronic controls, flip the switch back to iris and use the same wheel.
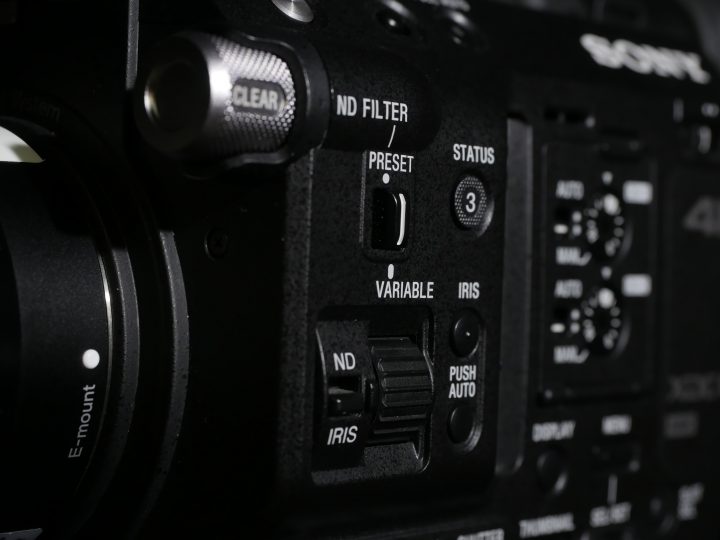
In addition to the various switches and dials, you should notice that there are buttons for ISO/gain, white balance, shutter, and iris. Pressing any of these will put that setting into its automatic mode; you’ll see an icon with an A next to the setting on the camera’s screen. When any setting is on automatic, the corresponding switch or dial won’t function. There is also a full auto button near the top that will put the ISO, white balance, shutter speed, and aperture on automatic. When the shutter speed is not set to automatic, it can be set by pressing the shutter button until the setting is highlighted on the screen, then adjusted using the SEL/SET dial.
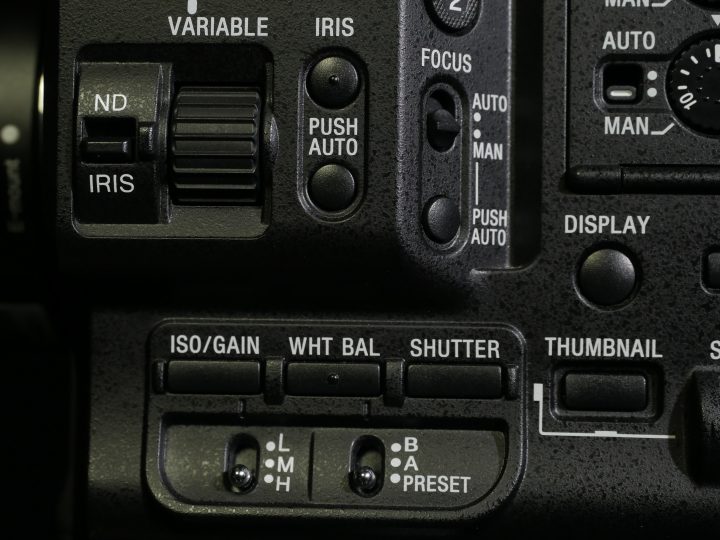
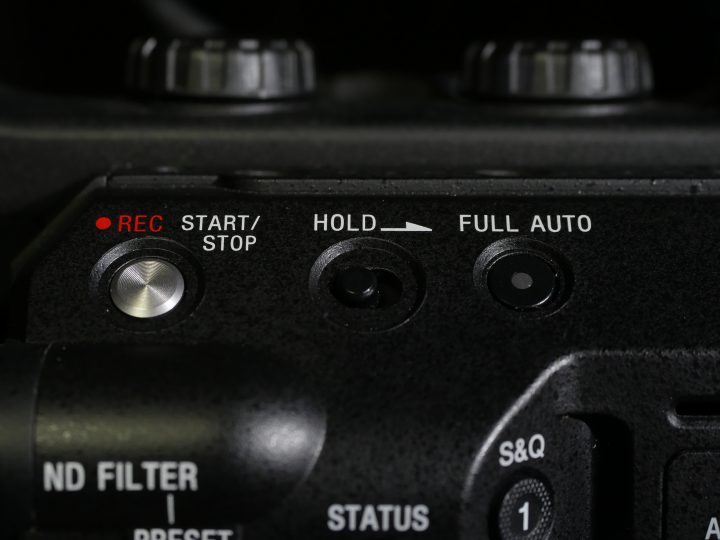
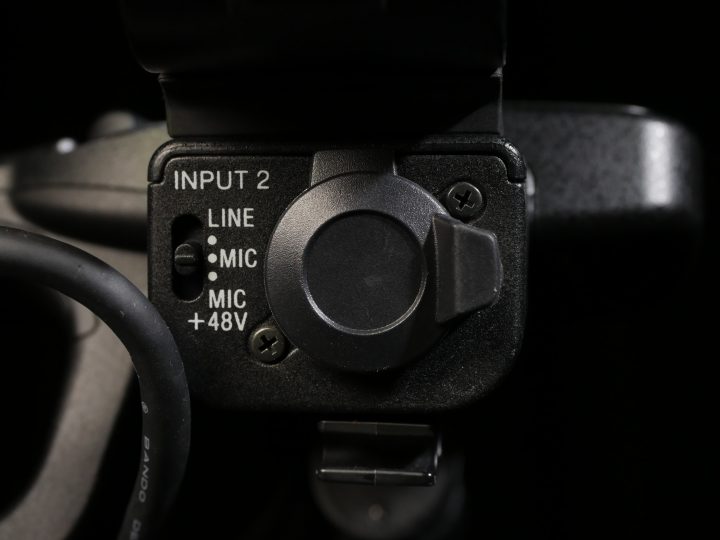
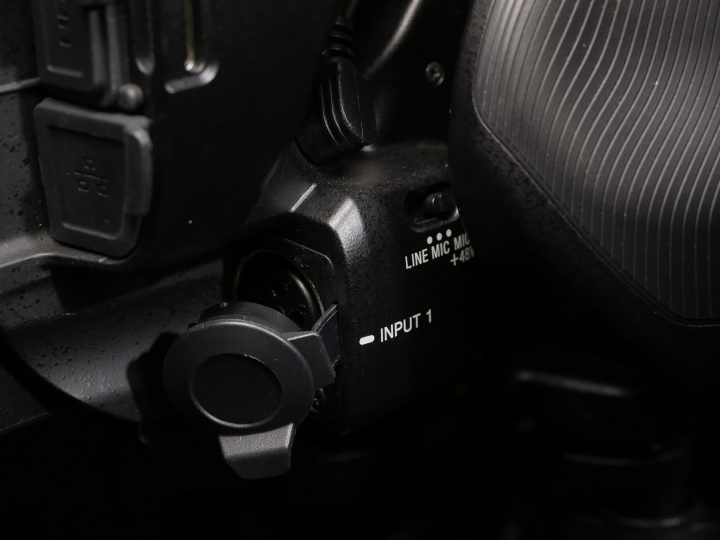
Other buttons on the side of the camera include toggles for the display, picture profiles, SD card slot, and slow motion mode. The audio level controls for the XLR inputs are behind a hinged door, although the line/mic/mic with phantom power switches are located next to the inputs themselves: one is on the top handle, the other is near the back of the camera, almost behind the side handle.
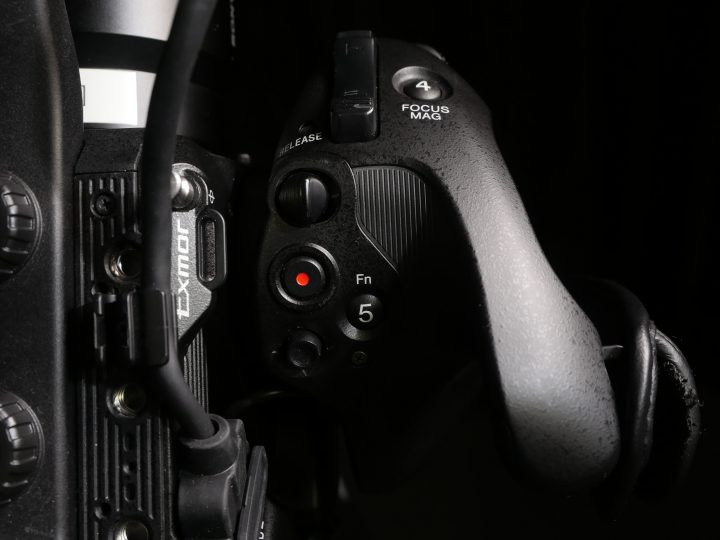
Speaking of the side handle, it provides a very solid grip for the camera and has lots of buttons that are conveniently located for single operators. There is a record button, focus magnification button, and a joystick for moving the focus magnifier. There is also a customizable button (Fn5), which we have set to focus peaking. There is a dial on the front of the handle for setting aperture, as well as a zoom rocker. The zoom rocker works with lenses that have powered zooms, such as our Sony 18-105mm f/4. There is a second zoom rocker on the top handle, along with another record button. The grip can be rotated using the release button.
Around the back of the camera are ports for SDI, HDMI, and ethernet. Along the other side of the back are the two SD card slots and the headphone port. Like other high-end video cameras, the FS5 has an open-backed battery compartment, which can accept batteries of different sizes and capacities.
Make no mistake: the FS5 is a complicated and sophisticated piece of professional-grade equipment. Between the various file formats, resolutions, frame rates, slow motion options, picture profiles, and customizable buttons, there are probably more settings on this camera than any other in our collection. It’s the kind of camera that you definitely need to familiarize yourself with before using.
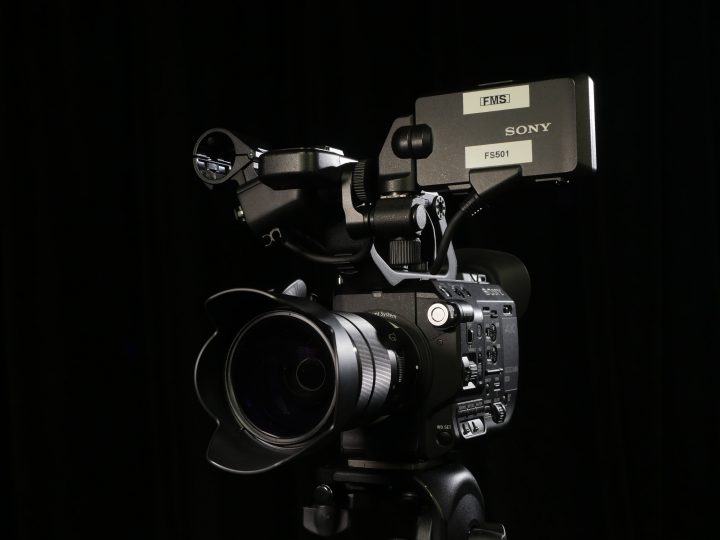
However (like most cameras of this type), once you know its layout, it becomes a very effective tool. It’s also a camera that can be physically customized for different shooting situations. The eye cup, side handle, top handle, and monitor can all be easily removed, creating a camera with a much smaller footprint. If you pair it with a lower capacity battery and a smaller lens, you suddenly have a camera small and light enough to use in confined spaces or even on a stabilizer.
