The 4K Sony Bridge Mirrorless Hybrid
So far, we’ve looked at hybrid cameras (the Panasonic GH3 and GH) and dedicated video cameras (the Panasonic AF100 and Sony AX2000). This week, we’re going to get to know an unusual camera that offers some of the benefits of both hybrids and camcorders: the Sony RX10 II.
Sony has a few different cameras in their “RX” line – the most popular by far is the RX100, which is now on its sixth iteration. These cameras are beloved because they manage to pack excellent photo and video quality into a device small enough to fit into your pocket.
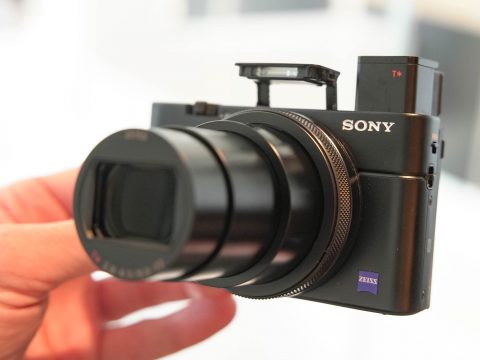
The RX10 cameras (of which there have been four iterations) are considerably larger than the RX100s. They generally use the same image sensor and offer the same features and image quality. However, the larger size makes room for a fixed zoom lens with much larger reach, longer battery life, more external controls, and advanced audio features via the use of an optional adapter.
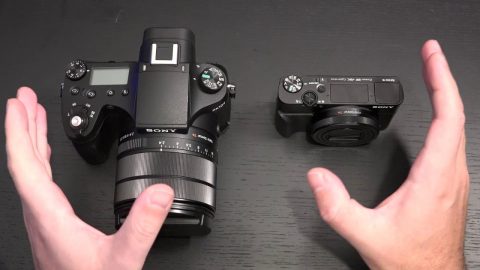
The RX10 is a “bridge” camera. It has a fixed lens like a point-and-shoot, but on a larger body with the layout and manual controls of a DSLR. These cameras have always occupied a strange niche – most photographers who want a larger camera body and manual controls also want to be able to change lenses; conversely, those who are interested in the convenience of an all-in-one also want it to be compact. As a result, these cameras are not especially popular. I personally find this camera very interesting, however, as it has some fantastic video features.
Using the RX10 II
The most obvious feature of the RX10 is its massive fixed (permanently attached) lens. The focal length is 8.8-73.3mm with a constant aperture of f/2.8. The crop factor on the RX10’s one inch sensor effectively turns this into a 24-200mm full frame equivalent field of view. Having a focal range that long with a wide constant aperture is pretty unusual and it makes the camera very versatile.
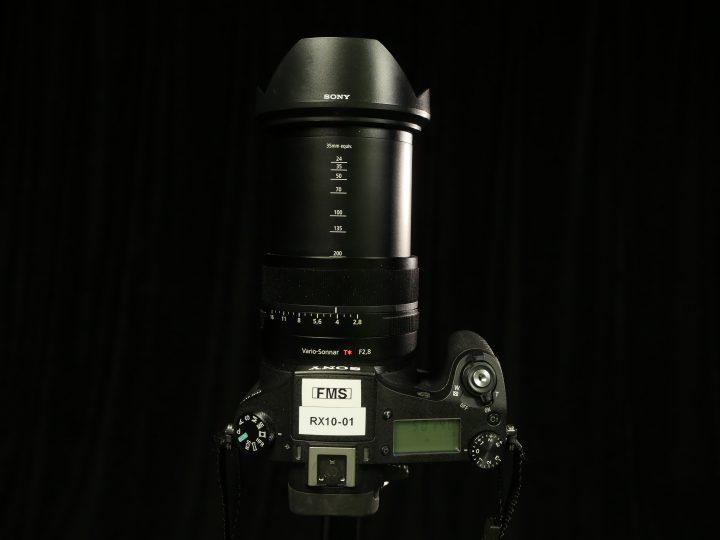
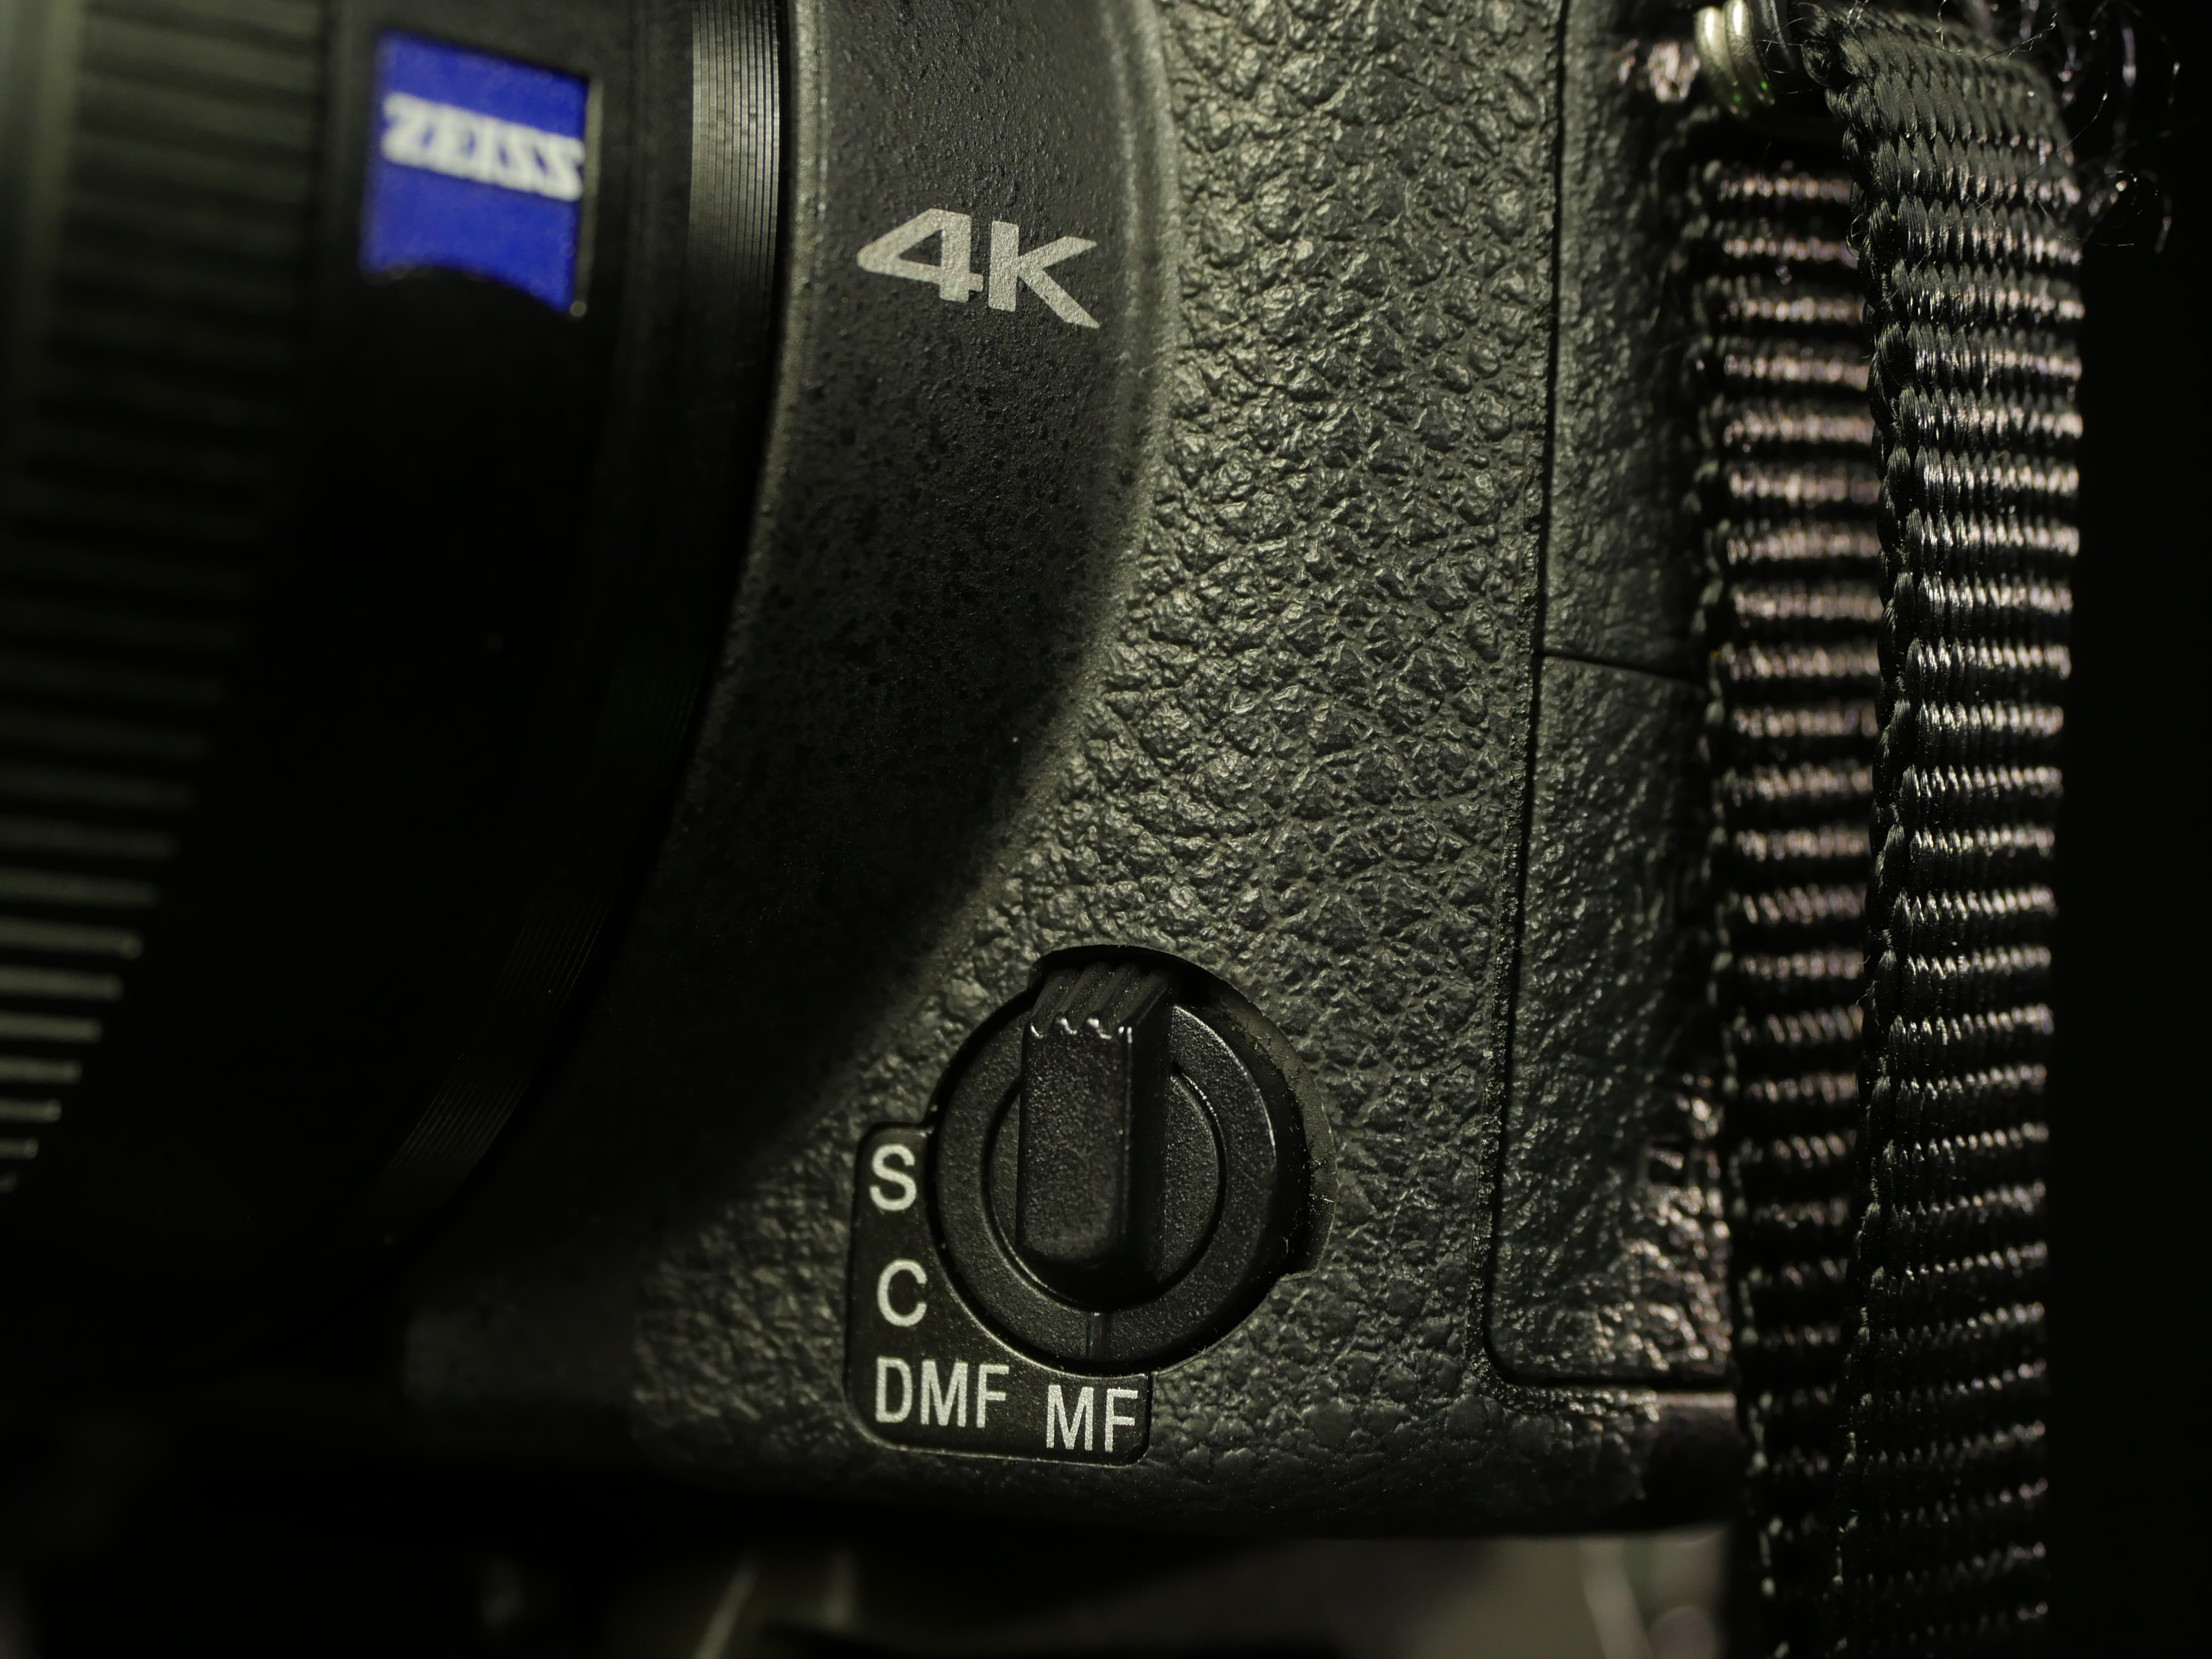
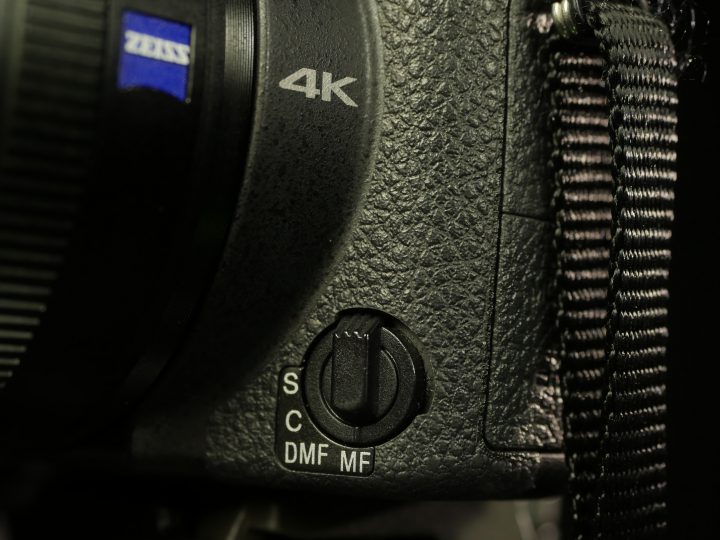
There are two rings on the lens itself: one for aperture and one for either focus or zoom. The aperture ring is unique in that it can be set to click (for stills) or rotate smoothly The combo ring only focuses when the camera is in manual focus mode (set using a dial in the bottom corner of the front of the camera); in one of the autofocus settings, it controls zoom. Zoom can be controlled in manual or autofocus modes using the rocker dial on top of the camera.
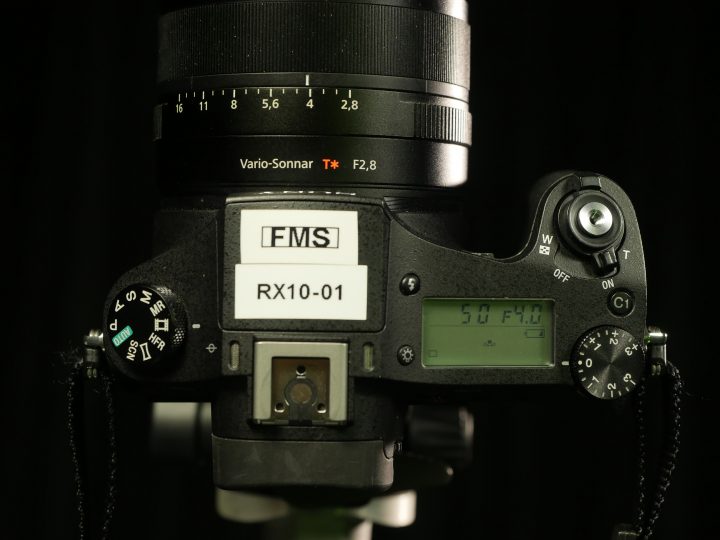
Also on the top of the camera, you’ll find the exposure compensation dial, which is used primarily for stills photography; the familiar mode dial; a customizable button, which I have set for focus magnification; and a useful LCD display, which shows the battery level and camera settings. For video recording, set the camera’s mode dial to the filmstrip icon. The HFR setting below the filmstrip is used for slow motion recording; we’ll discuss that in more detail later.
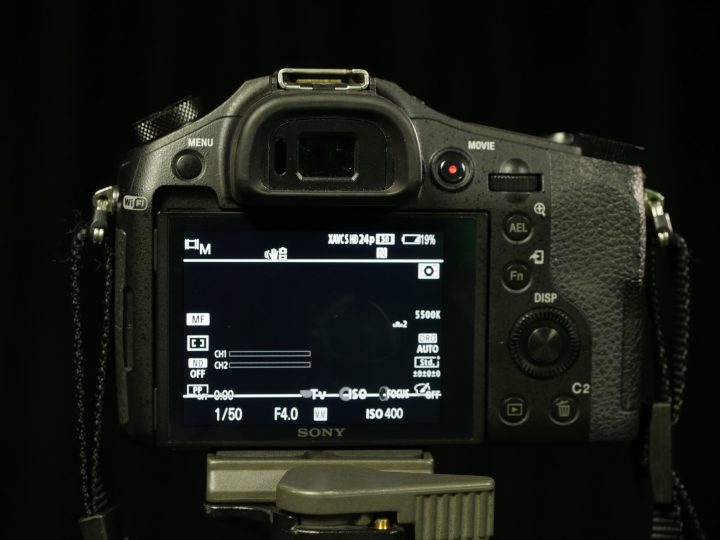
On the back of the camera, you’ll find more customizable buttons and a control wheel, which I have set to control the ISO. Since this camera has aperture controls on the lens, there is only one dial, which is used to control shutter speed. The rear screen tilts up and down, but it isn’t fully articulated like the screen on the GH3 and GH4. On the side of the camera, you’ll find a micro HDMI output, a 3.5mm microphone input, and a headphone jack.
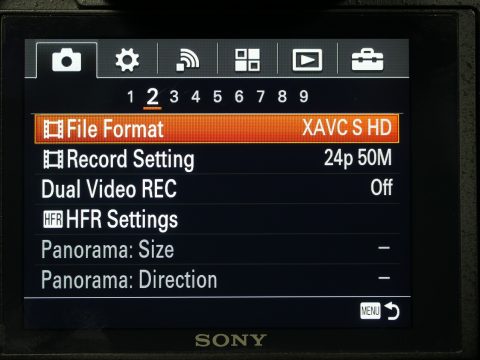
Digging into the menus: there are sections for camera settings, customization options (the gear icon), WiFi, apps which can be added to the camera (squares icon), playback, and general settings (toolbox icon). On the second page of the camera section, you can set the file format, resolution, and frame rate. For 4K recording, you should use the XAVC S 4K format. For HD recording, I like to use the XACV S HD format, since it gives you the most options for frame rates. You can actually record full HD at 120 frames per second with audio on this camera, which is a great feature.
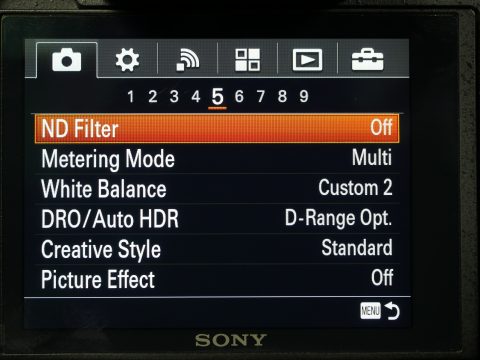
On the fifth page of the camera settings is the option for one of the RX10 II’s most unique features: a built-in ND filter. There aren’t multiple strengths of ND, like you’d find on an AF100 or AX2000, but it’s still very useful. For convenience sake, I have set the C2 button on the back of the camera to control the ND setting.
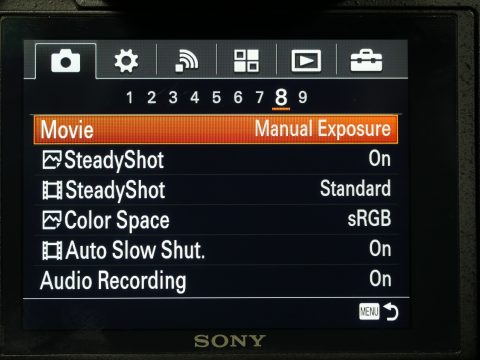
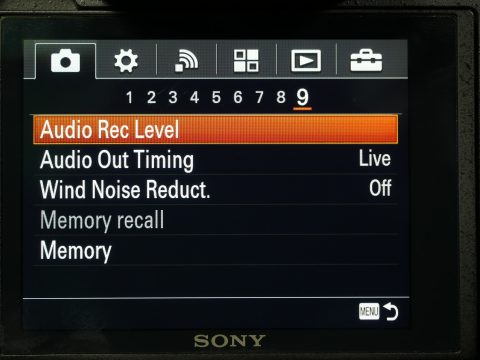
Buried on the eighth page of the camera settings is the exposure mode for movie recording – make sure this is set to manual. You can also turn on SteadyShot (image stabilization) for video recording. On the ninth page are options for controlling the audio levels.
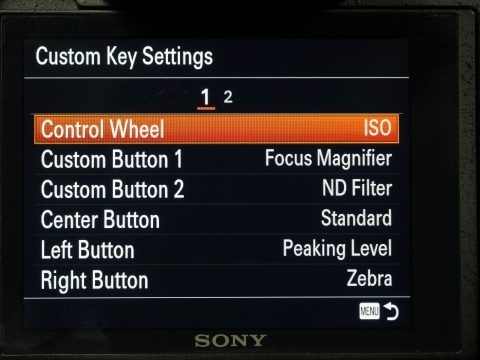
In the customization section of the menu, you’ll find a variety of exposure guides that can be switched on and off, as well as settings for things like the speed of the zoom ring. On the fifth page, you can set the custom buttons. I have the camera set as follows: Custom Button 1 is the focus magnifier; Custom Button 2 is the ND filter; spinning the rear control wheel controls the ISO; and pressing the control wheel left, right, and down controls the peaking, zebras, and white balance, respectively. Since these controls aren’t explicitly labeled on the camera, it can take some time to learn them, but they are easily accessible once you do.
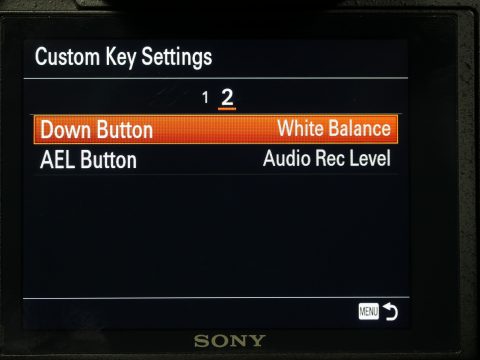
You shouldn’t need to do much in the other sections of the menu, with the possible exception of the fifth page of the general settings, where you can format your memory card. The RX10 II requires fast memory cards for most video recording settings – if the one you have isn’t fast enough, the camera will display a menu when you insert it.

Actually operating the camera is pretty straightforward. The large grip, viewfinder, and prominent lens controls make is a good camera for handheld use – it’s pretty easy to hold the camera steady. One odd quirk of this camera (and several other Sony models) is that you cannot start video recording with the shutter button – you have to use the record button labeled “MOVIE” on the back of the camera. I have no idea why Sony is so particular about this, but they will actually give you a warning message if you try to use the shutter button in movie mode.
Audio Options
The on-screen levels, 3.5mm microphone input, and headphone jack provide the RX10 II with audio capabilities that are about on par with other high end hybrid cameras. However, those capabilities can be greatly expanded using the K2M XLR adapter. This adapter attaches to the camera’s hot shoe flash mount (which Sony calls its “smart shoe”). On the adapter are two locking XLR inputs with phantom power and independent level controls.
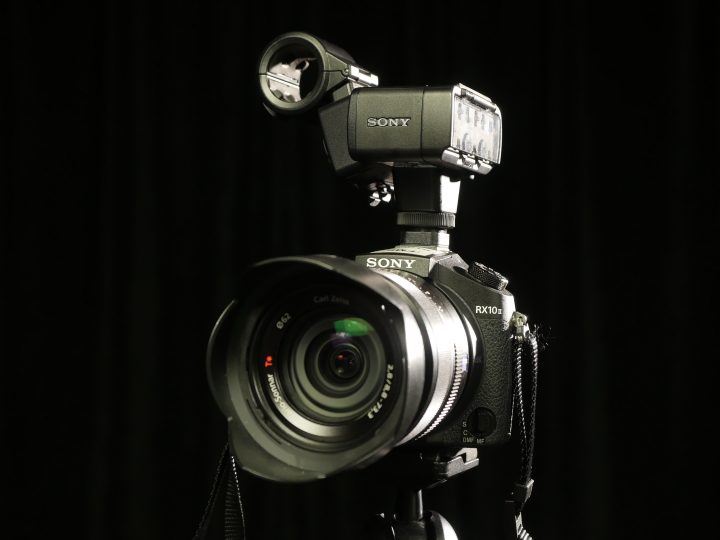
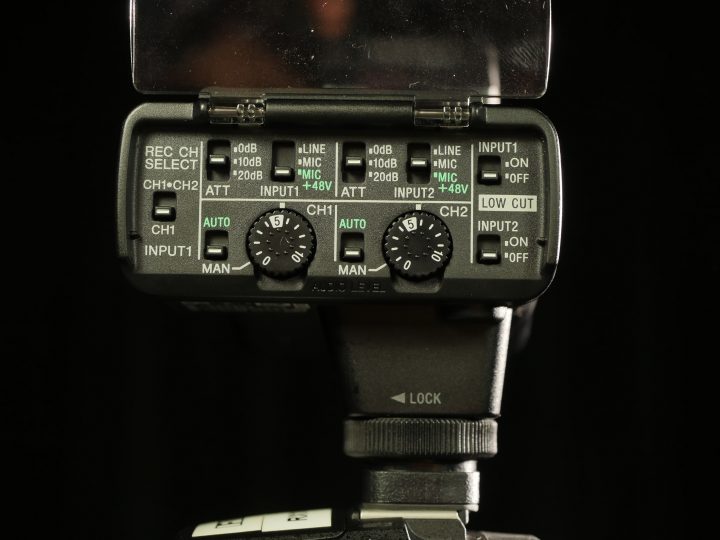
This adapter essentially adds the audio functionality of a high end dedicated video camera to the RX10 II. When you combine this with the built-in ND filter, click-less aperture ring, and the bevy of recording options, you have a lot of video-centric features in an extremely compact package.
