Deliberate Filmmaking
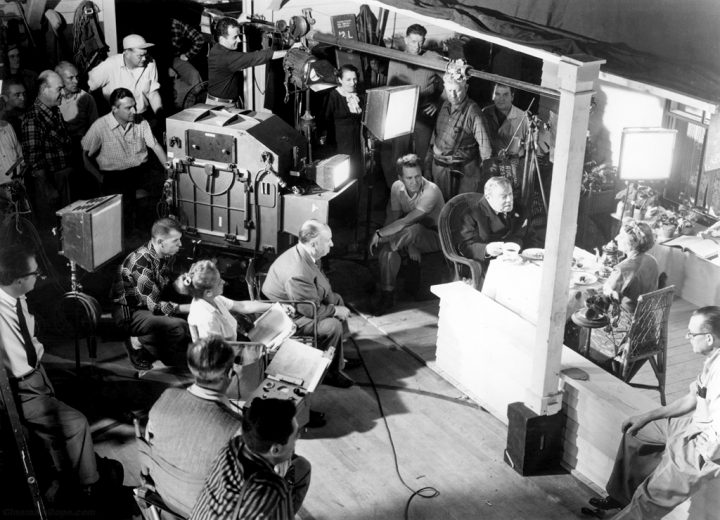
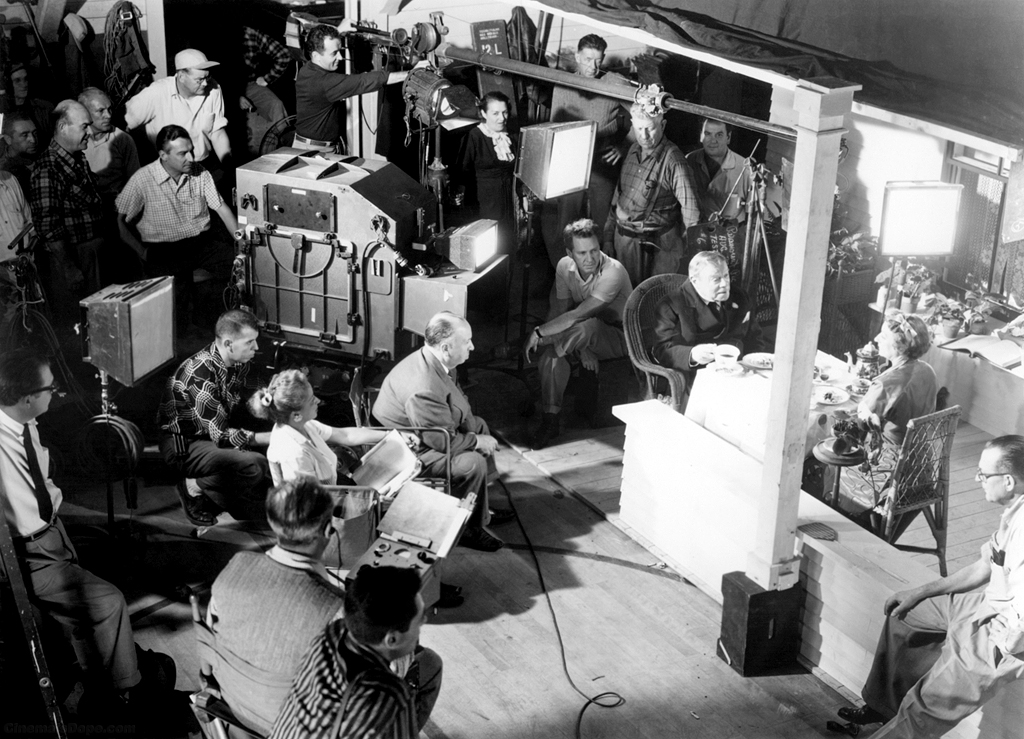
Filming cinematic footage is all about planning. The tools used on major cinematic productions are highly specialized and the individuals who operate them have very specific jobs to do. Filming a documentary short requires you to be resourceful; filming an event requires you to be adaptable; filming cinema requires you to be deliberate.
Of course, I’m exaggerating the distinctions between these different types of filmmaking. All creators need to be resourceful, adaptable, and deliberate to some extent in whatever they do. However, cinematic filmmaking really highlights the importance of thoughtful planning. When I use the word “cinematic,” I’m oversimplifying a bit there as well – what I really mean is narrative filmmaking that has been staged, lit, recorded, and color graded with a specific result in mind.

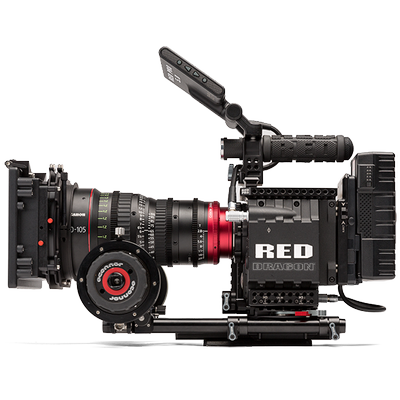
Cinema cameras – as opposed to hybrids or camcorders – have been designed for this kind of filmmaking first and foremost. Some cinema cameras have the versatility of a camcorder, with advanced audio features and comfortable ergonomics, but many do not. The cameras made by RED, for example (some of the most popular cinema cameras being used today), can be outfitted with different modules to expand their functionality – but the heart of the RED system is just an image sensor in a box.


Continuing our discussion from Lesson 5.1, the BlackMagic Pocket Cinema Camera is a true cinema camera. This makes it a frankly inconvenient camera to use, but one that can capture great images.
Rigging It Up
Here are the accessories that I’d recommend using with the BMPCC in order to maximize its usability.
- Good glass – We’re going to be taking our time with the BMPCC, so let’s skip the convenience of a zoom lens and use a nice prime instead. The Zeiss Nikon-mount prime lenses can be adapted for use on the camera with very nice results.
- Tripod or stabilization – Despite being a very small camera, the BMPCC doesn’t perform very well handheld. It does well on a tripod or a stabilizer like a three-axis gimbal.
- Cage – the small form factor and limited mounting points on the camera can be challenging. A cage helps alleviate this – we have a fairly minimalistic cage for use with the BMPCC.
- Rail system – As a cinema camera, the BMPCC does well with cinematic accessories. You can use a rail system to mount a follow focus, matte box, and other accessories.
- Power solution – The battery life on this camera is terrible. We have a fairly basic external battery for the unit, but there are lots of other options out there as well.
- External monitor – The camera’s built-in screen is small and not very bright. Using an external monitor can help with shot composition and nailing exposure.
- Audio recorder – Despite having a microphone input and a headphone jack, the audio captured on the BMPCC isn’t really usable. I’d recommend using the on-camera audio as a sync track and recording higher quality audio to an external recorder.
Lighting
Without going into too much detail on lighting – we have an entire class for that – I want to point out that cinema cameras really require cinematic lighting. A standard “three point” lighting system will do the job, but you need to be thoughtful about how you light your scenes. Here are a few paragraphs from the “Fundamental Lighting” lesson of the Film/Media Studies Practicum on color and light:
Three point lighting isn’t a basic technique, it’s a fundamental technique – the fundamental technique – for lighting a subject. There may be dozens of lights set up for a shot, but the subject (the actor, generally speaking) will still be lit using three point lighting. That’s because three point lighting describes how we see other people every day, with different levels of light and shadow.
When you are outside, you are probably being primarily illuminated by the sun – that makes it the key light. The sun can be a hard or a soft light, depending on the weather and time of day; overcast days are generally considered great for filming, since the light is diffuse and flattering.
Depending on the sun’s location, it will cast shadows on one side of your face or the other, but these shadows are softened by the other lights in the environment: either light from the sun that has been reflected off of other objects or other sources of nearby illumination. These softening lights are the fill.
Finally, there is almost always light coming from behind you – usually either the sky or some reflected light from the sun. If this light overwhelms the light of the sun (the key light), you will be silhouetted; if it is fainter, it will wrap around you from behind as a rim of light. This is the back light.
When you are setting up three point lighting, you have a few factors to consider. How harsh should the shadows be? How intense should the back light be? Which side should the back light be on? These are largely a matter of personal preference and can change from one setup to another. I personally think that the back light looks best on the opposite side from the key, but many lighting diagrams show the opposite. The important thing is to be conscious of how these choices affect your scene.
Filming for Grading
As previously mentioned, the BMPCC can record two kinds of video files: raw and ProRes. The raw files are actually .dng still images that are captured in a sequence – you can actually inspect the frames one by one. These raw stills are read by an editing program as an image sequence. Recording in a raw format like this gives you the maximum amount of image quality and flexibility for color grading.
However, as you can imagine, recoding thousands of uncompressed still image files instead of a single piece of video really complicates the post-production workflow. I’d recommend using one of the ProRes options when filming on the BMPCC, as they are still robust, high-quality files, but they are much easier to work with.
If you plan on color grading your footage (a given in cinematic work), recording to a “log” or flat picture profile is also wise. The BMPCC always records a slightly desaturated image, but using the “Film” dynamic range setting takes this even further. From another lesson in the Color & Light course, here’s some information about log recording:
Simply put, log is a camera setting that lowers the contrast and saturation of the image being recorded; a “flat” picture profile. Log footage is pretty unpleasant-looking at first – milky, bland, and washed-out. Log footage comes to life in the color-grading process when saturation and contrast is added back into the image. Because you are starting with more of a blank slate, log footage can be color graded and tweaked more aggressively in post-production.
So should you always be shooting using a log profile? Actually, no. Because log footage has low contrast, it protects the details in both shadows and highlights. That makes it great for shooting environments with very bright areas and very dark areas. However, if you’re in a situation where you don’t need to recover details from both the shadows and the highlights, there really isn’t much point to shooting log – you’d only be adding unnecessary work later.
The way your camera records video files also makes a difference as to whether or not you should shoot log. Without getting too technical, cameras that use low compression (4:2:2 as opposed to 4:2:0) and capture lots of color information (12 or 10-bit as opposed to 8-bit) using a robust codec (RAW or ProRes as opposed to H.264) will do better with log footage. In our collection, the BlackMagic Pocket Camera and Sony FS5 are better suited to using flat picture profiles than cameras like the GH3 and AF100.
Finally, shooting log can be problematic because it’s difficult to imagine what your finished footage will look like when everything is desaturated and grey – it can even be challenging to light and expose correctly, since the footage appears so flat. However, some cameras and external monitors (like our SmallHD DP7-Pro) will allow you to load a LUT (essentially a color-grading preset) and preview your footage with a more finished look.
When filming in the log setting on the BMPCC, remember that the footage you are capturing will be significantly transformed in the color grading process. Use the tools at your disposal – light meters, exposure guides like histograms, LUT previews – to dial in your footage for the best result.
