Getting to Know the GH3 and GH4
At a glance, these cameras are basically identical; the GH4 has a locking mode dial and an extra setting on the drive dial, but that’s basically it. That makes it fairly easy to move from one camera to the other, but there are a few key differences between them that we’ll discuss shortly.
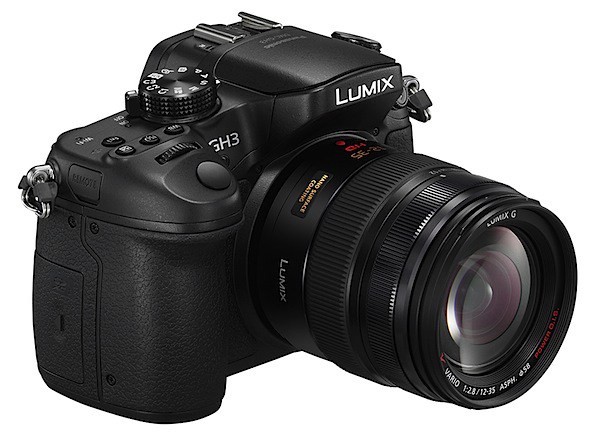
We’re starting with Panasonic hybrid cameras because they offer a lot of manual control, but are still fairly simple to use. The menus are straightforward and most buttons are clearly labelled. This kind of camera is a “twin dial” setup, which means there is one dial for aperture adjustment and one for shutter speed. The white balance, ISO, focus mode, and several other options can also be set using buttons on the camera body without digging into the menu system.
Setting Up the Cameras
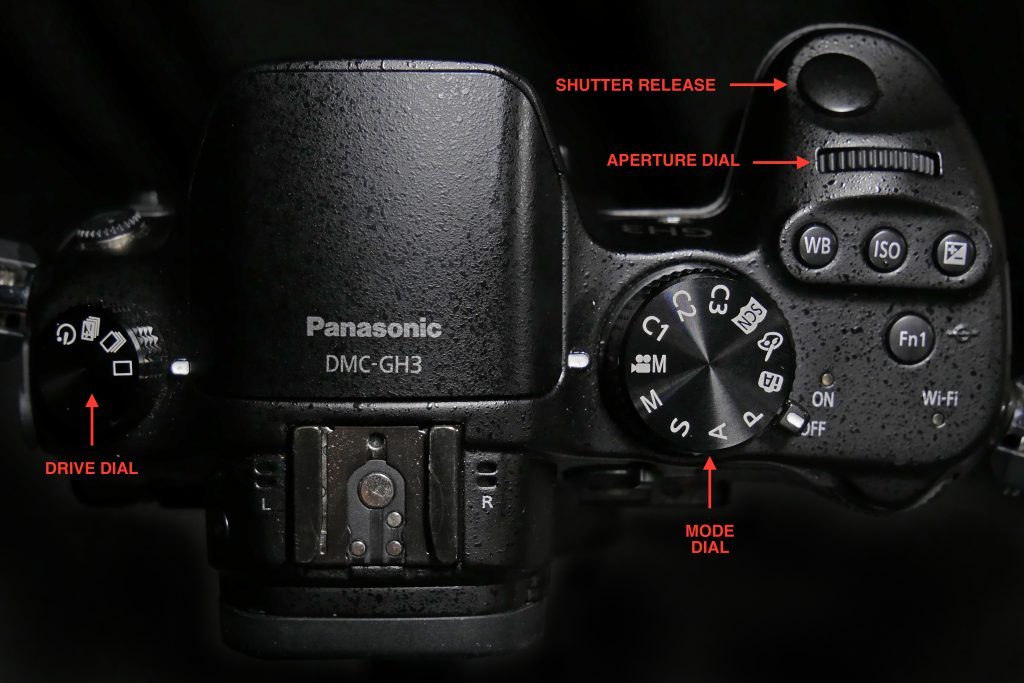
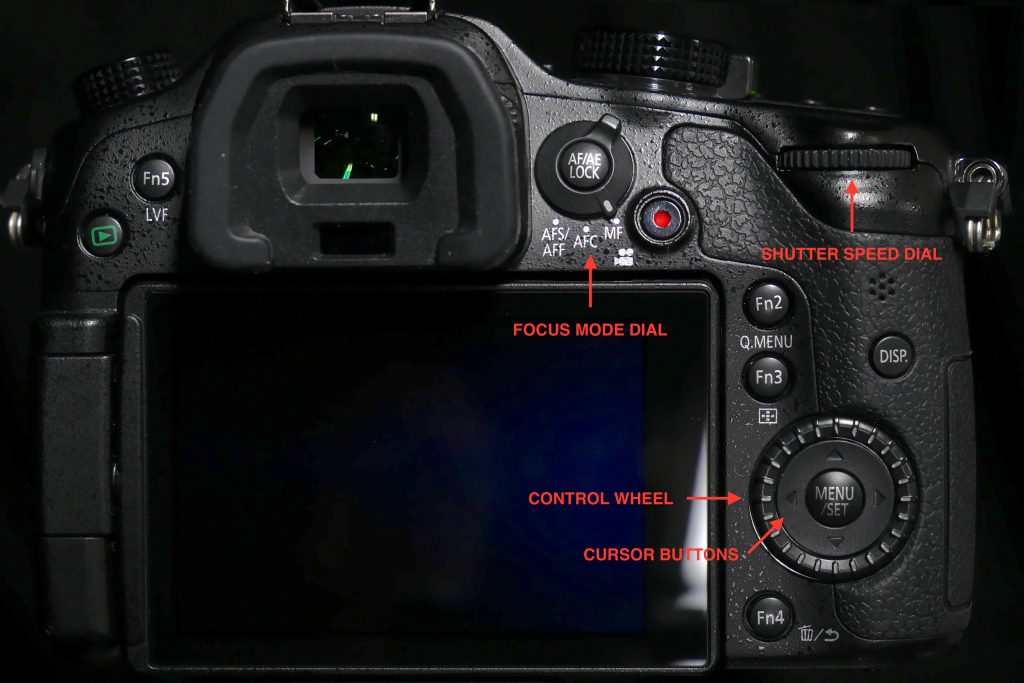
Looking at the bodies of these cameras, you’ll find several dials and buttons. On the top left is a drive dial – this is more often used for stills photography than video, so it can generally stay at the “single shot” setting, which is one rectangle. The large dial on the top right is the mode dial. The P, A, S, and M modes are, again, primarily used for stills – for video, go to the setting with a video camera icon and the letter “M.” Before we start filming, though, there are some settings we should change in the camera’s menu. With the mode dial turned to the video setting, press the button on the back labeled MENU/SET.
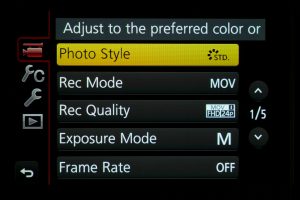
I’m not going to go through every option of each page of the menu – there are just too many options and many of them aren’t crucial. In general, the menus of these Panasonic cameras are intuitive and easy to navigate. The four sections of the menu (in video mode) are Motion Picture (the camcorder icon), Custom (the wrench icon with the letter “C”), Setup (the wrench icon), and Playback (the play button icon).
Most of the settings we’re going to change are in the Motion Picture section. First, since these cameras can record at a variety of frame rates and resolutions using several different codecs, you should make sure that those specifications are where you want them to be. For most situations, stick with the .MOV format and use either 4K (on the GH4) or 1080HD (on the GH3) at a frame rate of 24. If you still have multiple options, choose the one with the highest data rate.
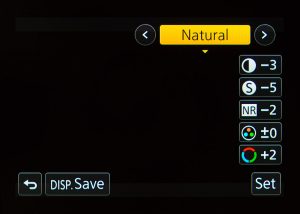
You can change the overall look of your footage using the Photo Style setting. This gives you the option to use preset looks with varying levels of contrast, saturation, and tint. However, I would recommend keeping the Photo Style fairly neutral – the Standard and Natural settings work well – and handling your color work in post-production. Feel free to play with these options, though – each of the preset looks can be further customized as well.
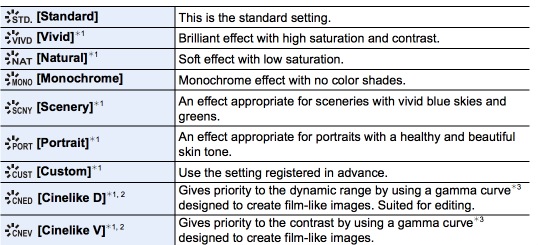
Next, it’s very important that you change the exposure mode to M, for manual control. P is an automatic setting, S is shutter priority, and A is aperture priority. M is the only setting in which you have complete control over the aperture, shutter speed, and ISO of the camera when recording video.
On the second page of the Motion Picture menu, you’ll find a setting for Continuous AF (autofocus). Turning this on let’s the camera hunt for focus continually while recording. Since the autofocus on these cameras isn’t very reliable when recording video, this should be set to OFF.
There are also settings related to audio in the Motion Picture menu. You can turn meters on and off (Mic Level Disp.) and set the levels (Mic Level Adj.). The GH3 and GH4 are cameras that actually do have headphone ports, so be sure to monitor your sound as well as watching the levels. There are some automatic settings such as Wind Cut and a level limiter that I would recommend turning off.
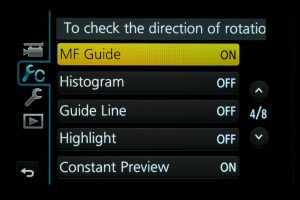
The Custom section of the menu lets you change what is visible on the screen (guide lines, a histogram, etc.) turn focus peaking and zebras on and off, customize the buttons and menus, and more. One important setting is Constant Preview, which should be turned on. Constant Preview makes the camera’s display show exactly what a recorded image would look like, whether or not the camera is recording. If this setting is turned off, the camera will adjust the exposure automatically until the record button is pressed.
The other important setting in the Custom menu is Shoot w/o Lens, which should be turned on. This setting allows you to use lenses that do not communicate electronically with the camera. This is necessary for using adapted lenses, such as our Nikon mount primes.
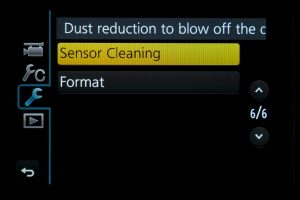
The Setup section of the menu can be used to set the date, time, and timezone, as well as things like the brightness of the display and the volume level. The most important option in the Setup menu is probably Format, which formats and erases the memory card. It’s generally a good idea to format your memory card before a shoot – provided you have the footage on it transferred and backed up somewhere!
Using the Cameras
Operating the GH3 and GH4 is fairly straightforward, once the menu settings listed above have been taken care of. The WB and ISO buttons on the top of the camera are used to change the white balance and ISO. There are several white balance presets, as well as the option to dial in a specific Kelvin value. Auto white balance is available as well, but you should probably set it manually, especially when recording video.
There are also two thin dials on the camera – one near the shutter button and one on the back. This “twin dial” setup is very common on stills cameras. By default, the dial that naturally rests beneath your index finger controls the aperture of the lens, while the dial that rests under your thumb controls the shutter speed. You will probably want to set your shutter speed to roughly double the frame rate (using the 180 degree shutter rule) – the GH4 will actually let you use shutter angle instead of shutter speed, if you want to get really precise.
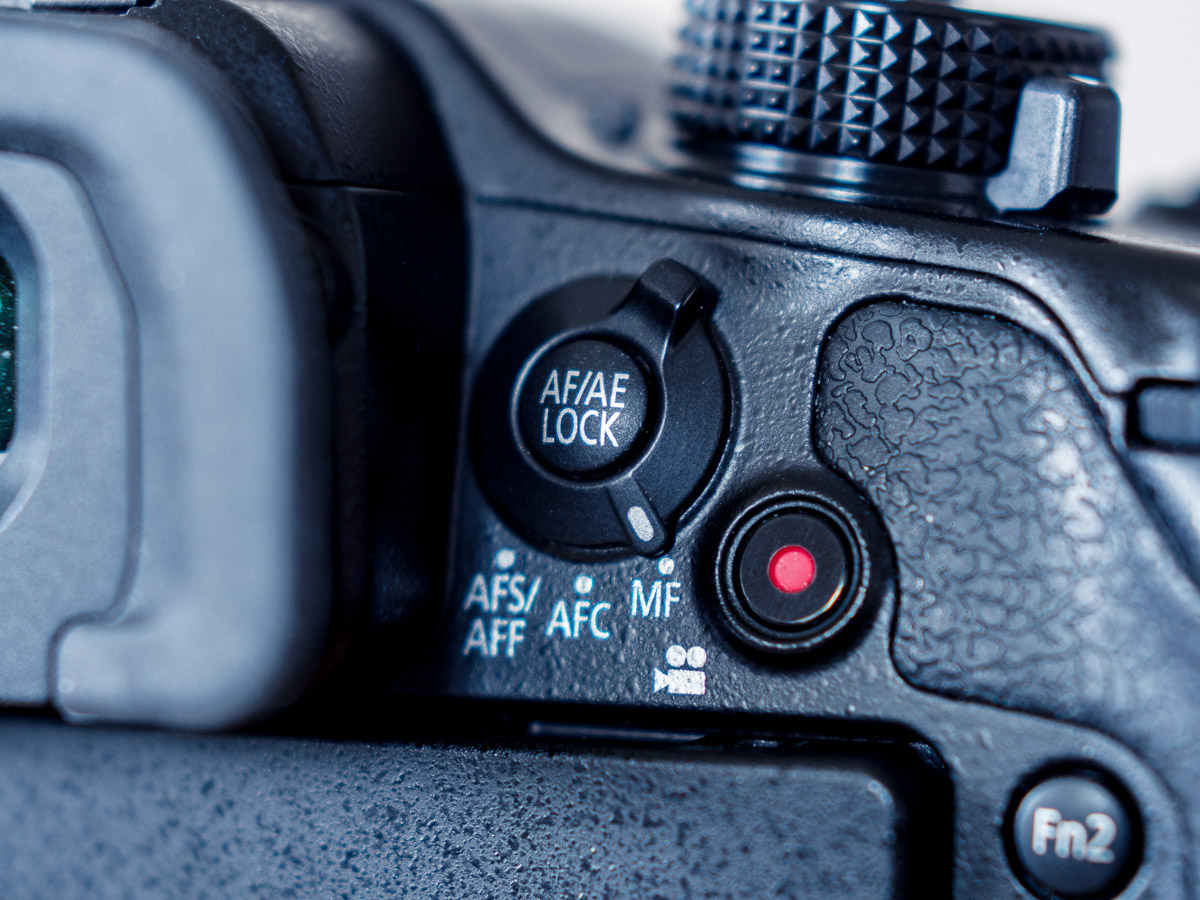
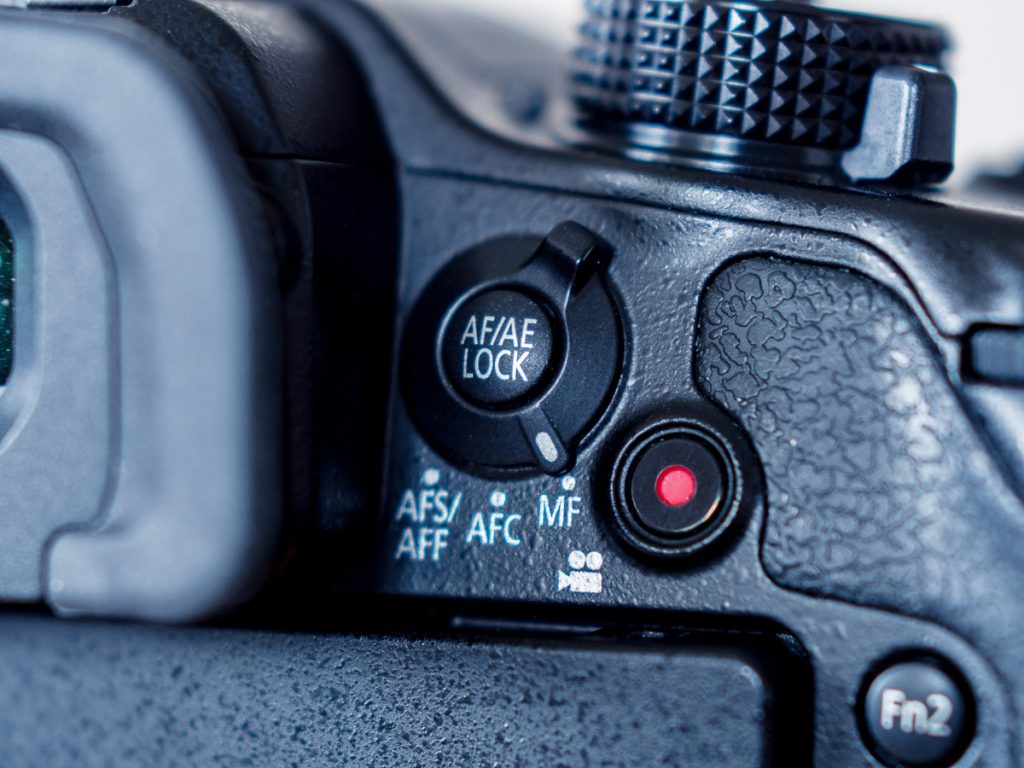
You can change your focus from automatic to manual using the dial on the rear of the camera next to the video record button. There are also different autofocus modes that can be used, such as single point, area, and face-detection. Single point and area can be useful if you need to move very quickly, but I’d strongly recommend using manual focus for most of your video work.
With the camera properly set up and your exposure dialed in, using the GH3 or GH4 is really pretty simple. You can start recording with the dedicated video button or the shutter release. Many hybrid cameras have video recording time limits (due to complicated taxation issues, of all things), but the GH3 and GH4 will record continuously until the memory card is full. These cameras also have very good battery life for their size, so they are a versatile choice overall.
Naturally, the challenges of using hybrid cameras are still present here. The GH3 and GH4 have headphone ports for audio monitoring (which you should use!), but you’ll need to use some sort of adapter if you want to use high-end XLR microphones.
Furthermore, you need to remember that this style of camera body was designed to capture still images, not video. Support the camera as much as possible in order to keep it steady – you may want to use the viewfinder instead of the rear screen. Check out the following video from Peter McKinnon for some additional tips:
Differences Between the Two
So far, just about everything we’ve discussed can be applied to either the GH3 or the GH4 – the two cameras are nearly identical from the outside and handle exactly the same. However, there are some key differences between the two.
The GH4 was Panasonic’s much-anticipated follow-up to the GH3, so it has some new features. The biggest addition was 4K video recording, which was a brand new flagship feature when the camera was released. You may not need 4K recording – most video is still released in 1920 x 1080 HD – but it can be nice to have. Footage shot in 4K can be rescaled and cropped when edited on an HD timeline. 4K footage is also very sharp when downscaled to HD and the added resolution is helpful for things like green screen photography.
There are also some additional slow motion options on the GH4. While both cameras can shoot HD at 60 frames per second, the GH4 has VFR (variable frame rate) settings that allow HD recording at up to 96 frames per second. VFR recording is only available with some recording formats (they are labeled in the menu) and no audio is recorded while filming in VFR mode.
There are a few other minor differences between the two cameras. Both have time-lapse modes, but only the GH4 has a dedicated stop-motion setting. Finally, the GH4 has assist functions like zebras and focus peaking. All in all, the GH4 is a more capable all-around camera, but there are many times when you may not need the additional functionality it offers. In terms of HD video quality, the two are virtually indistinguishable.
